Hi All, if you read this post probably your are a ham radio operator looking for help with Open VPN set up on Raspberry Pi & Pi-Star system. If you are not a radio operator, I hope you will find something helpful for your Linux project too.
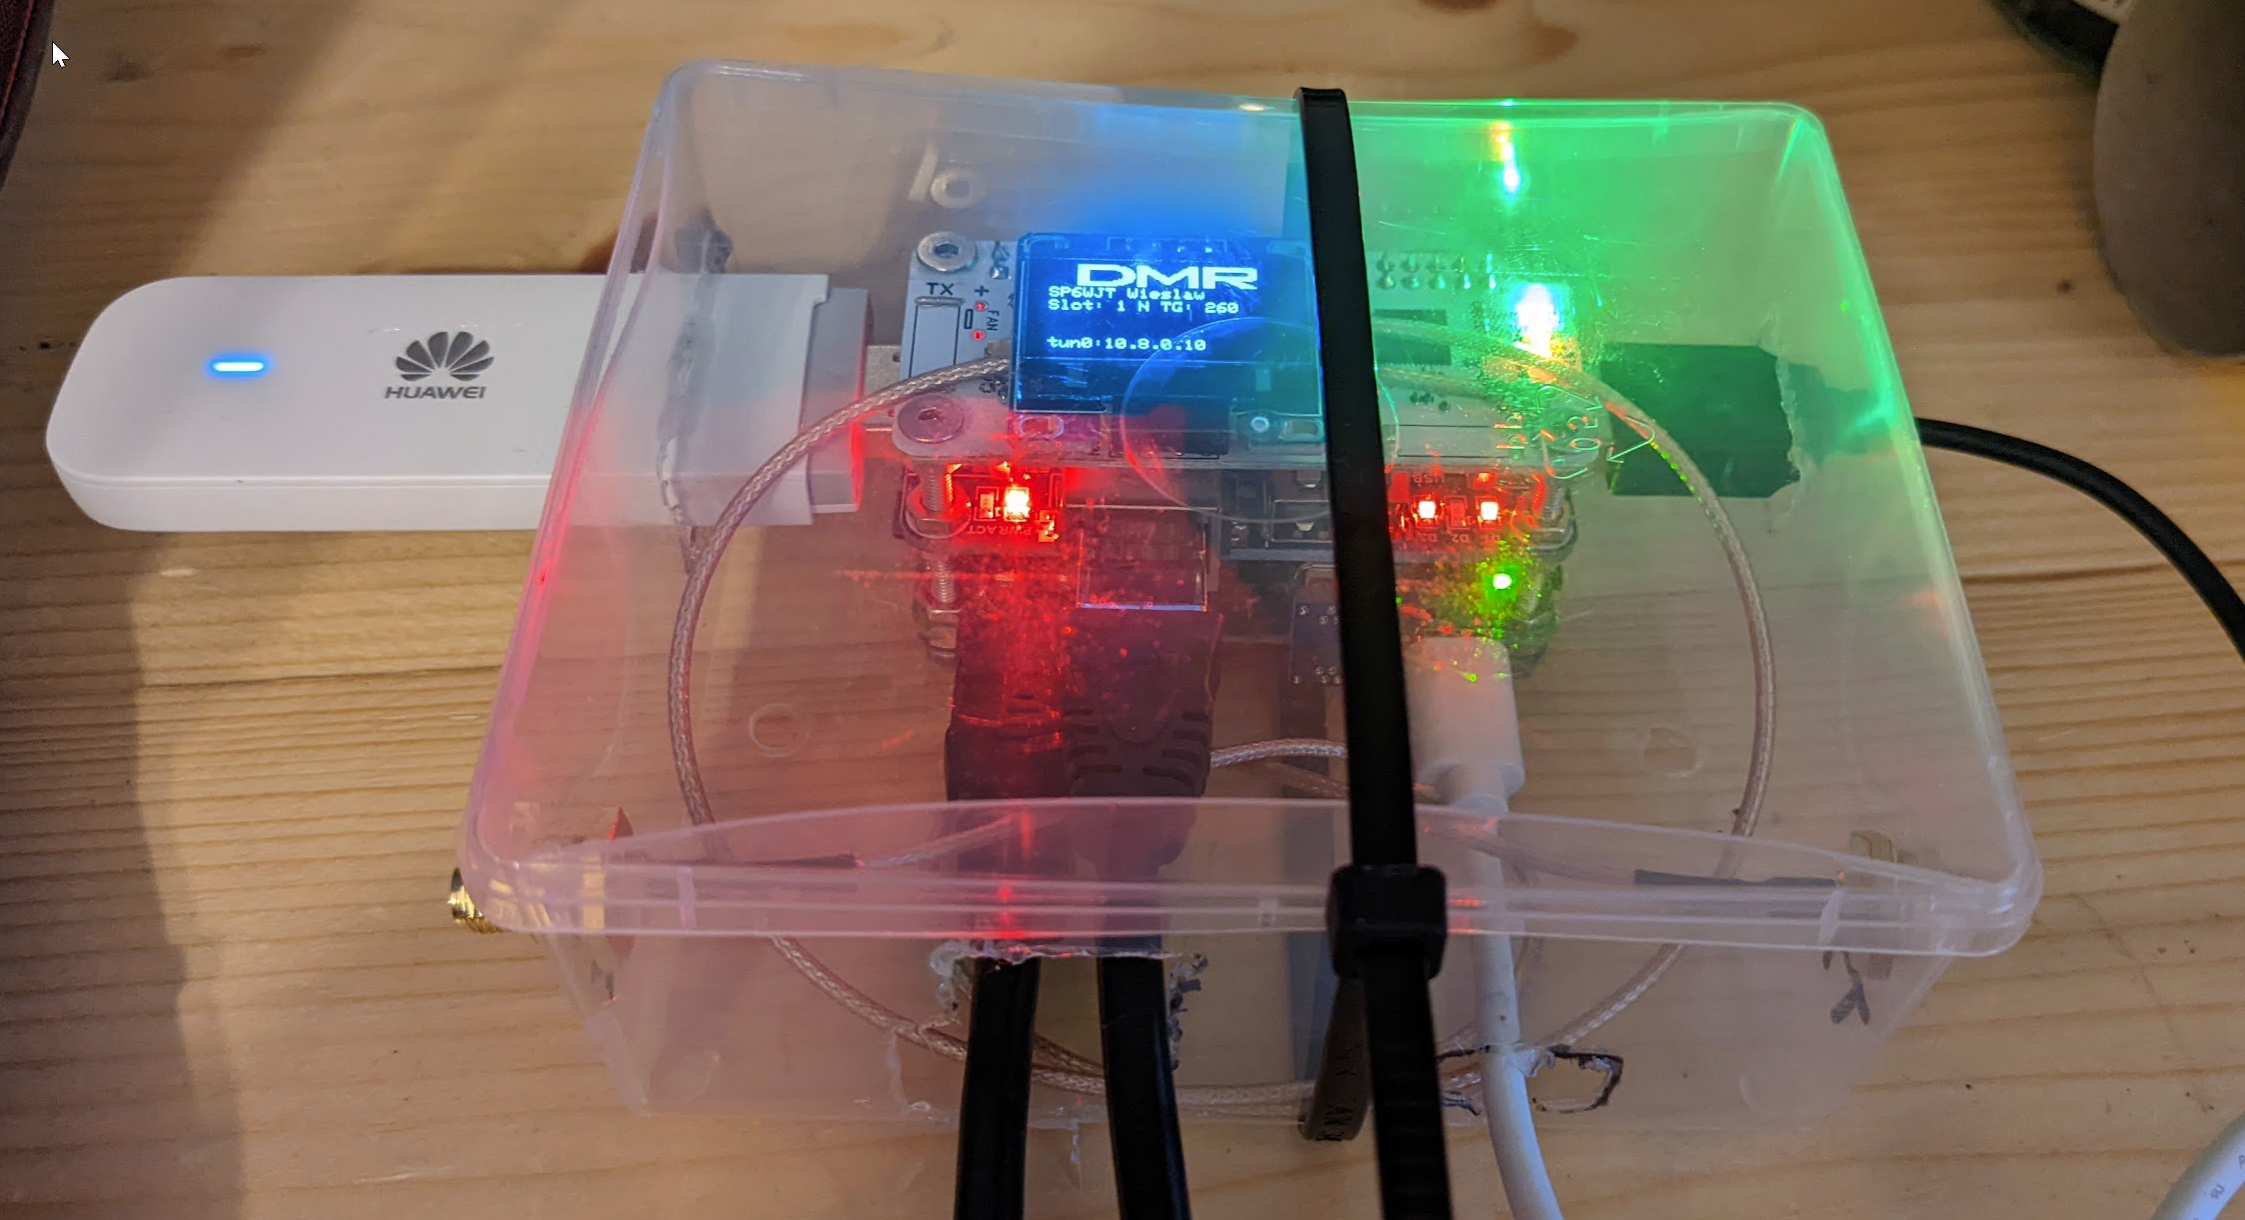
Quick question is WHY you may need a VPN network for your pi-star? 90% user will *not* need it at all. You may find a different reason to me to have a VPN connection to your pi-star, my reason is that I am about to run a DMR repeater from a remote location with access to internet only through LTE / 4G dongle. So having a VPN will help me to access pi-star dashboard or SSH terminal. Without VPN it probably could be impossible, as the dongle I use offers port forwarding but… it does not work. It is a cheap and crappy Huawei LTE / 4G dongle. If course dynamic IP would not be a problem regardless you use port forwarding or VPN.
IMPORTANT: the setup is based on few assumptions:
- You have got a working Open VPN server. I will provide a link to tutorial how to set up the OpenVPN server on Synology NAS Server;
- My Synology DSM NAS Open VPN server has generated automatically a openvpn.zip config file, which I unpacked and renamed to VPNConfig_full_Hotspot.ovpn. You can rename it to anything you want, reason to provide the name here is it will keep appearing in few places. The file is called Hotspot, as I am testing now the procedure, once all is ready, the config file for my repeater will be called differently 🙂 Also if your VPN server does not generate config file, you can create it manually – it is not extremely difficult 🙂
- My OpenVPN server is using UDP protocol and subnetwork 10.8.0.0/24
- My Open VPN server at home listens on port 1194
- Please remember, when you do a final test for your open VPN you will have to unconnected from your home network – so be prepared to have a screen and a keyboard ready in case you cut yourself off from the device.
LET’S START

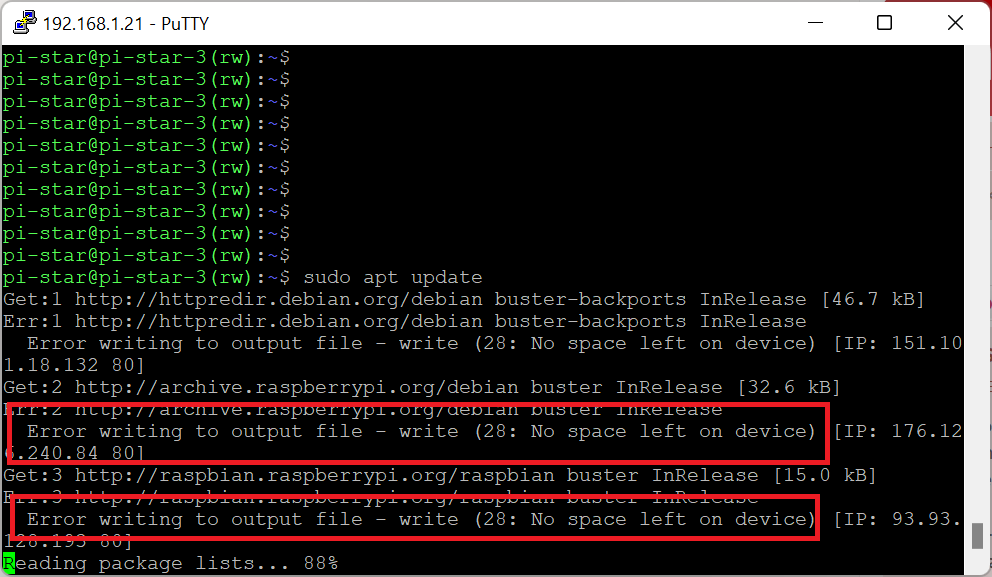
At any stage of the installation you may get info about no space left on device – see picture below. Later I found my SD card was only 2GB however if you experience the same problem, the solution is below. In my case I had to put a bigger SD card. Also all pi-star images from 2021 (?) adjust the partition size automatically.
UPDATE: PLEASE DO NOT EXPAND YOUR PARTITION UNLESS YOU REALLY HAVE TO – PROBABLY PROBLEM IS SOMWHERE ELSE – LIKE I JUST HAD TO SMALL SD CARD
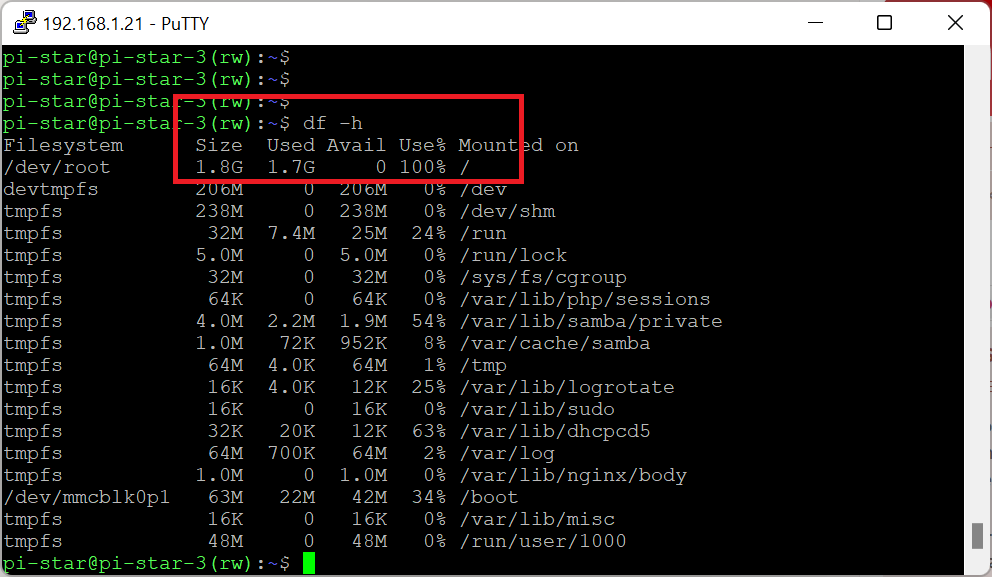
You can confirm the problem by typing df -h to see available space. My /dev/root is full 🙁
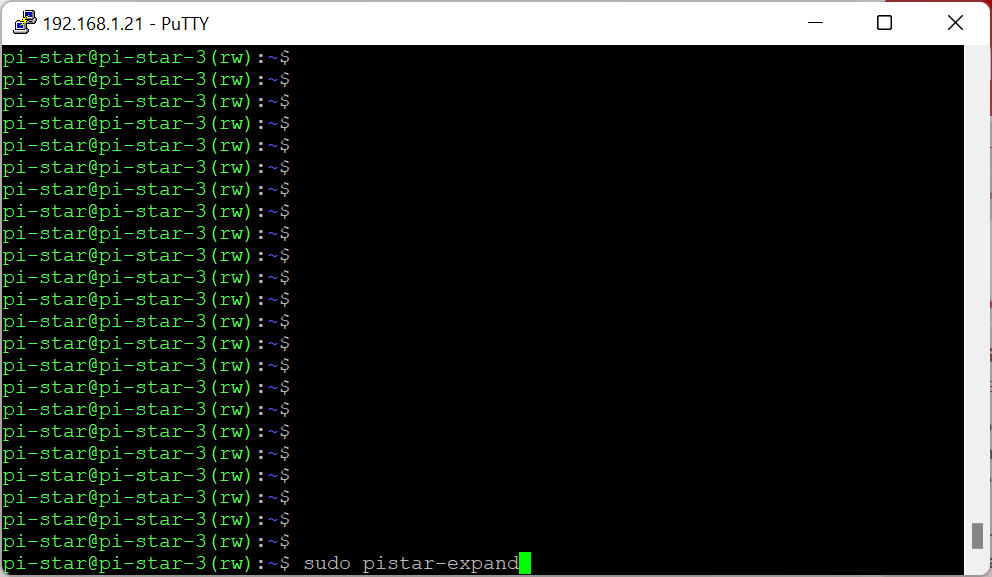
The solution is to type pistar-expand:
As result you will see restart request:
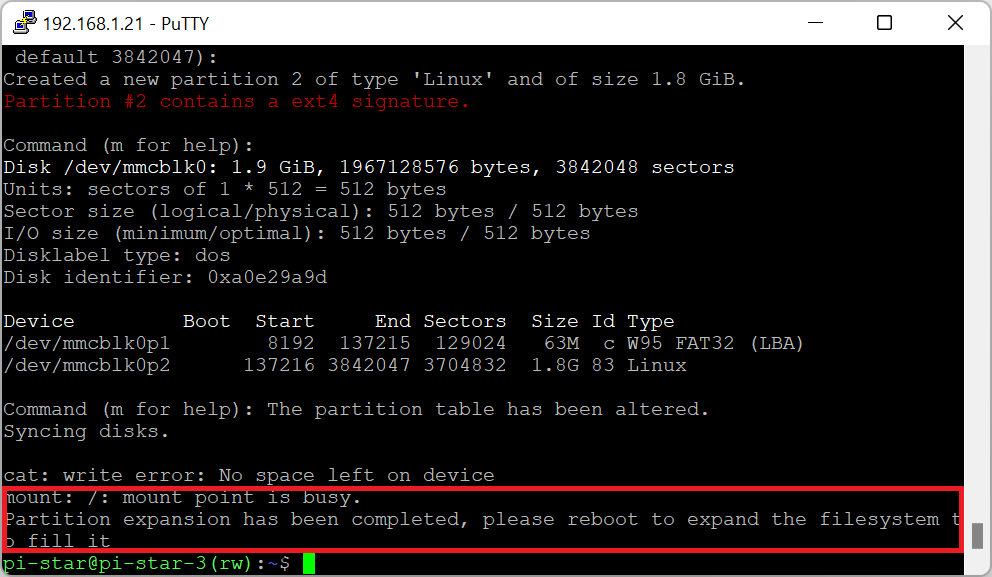
Then restart device – type: sudo reboot
START ACTUALLY HERE
Now you can update the system. Make sure you are in rw mode. If not, type rpi-rw


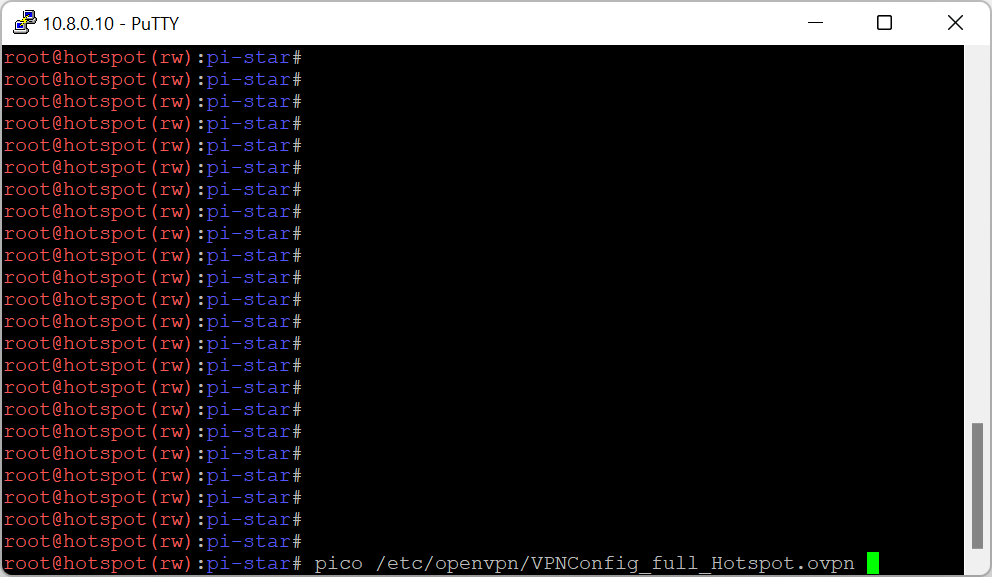
The image below is only for reference. Use the text (copy and paste) which is under the image, as I keep updating the text!!!
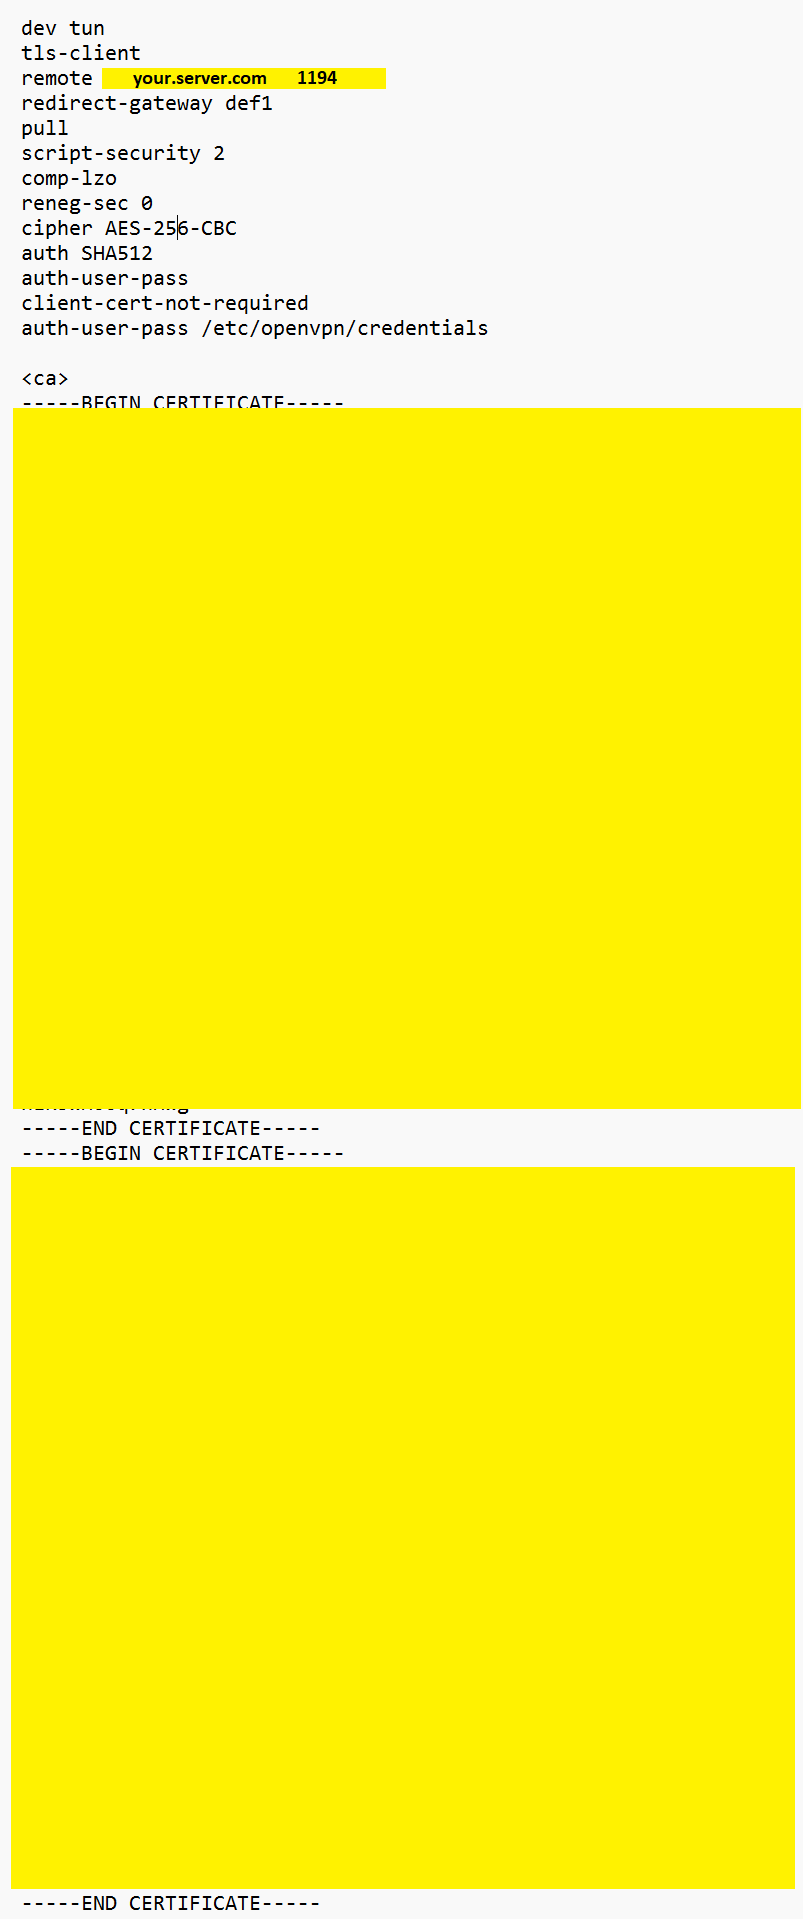
client
dev tun
tls-client
remote sq8bgq.synology.me 1194
#redirect-gateway def1
pull
script-security 2
comp-lzo
reneg-sec 0
cipher AES-256-CBC
auth SHA512
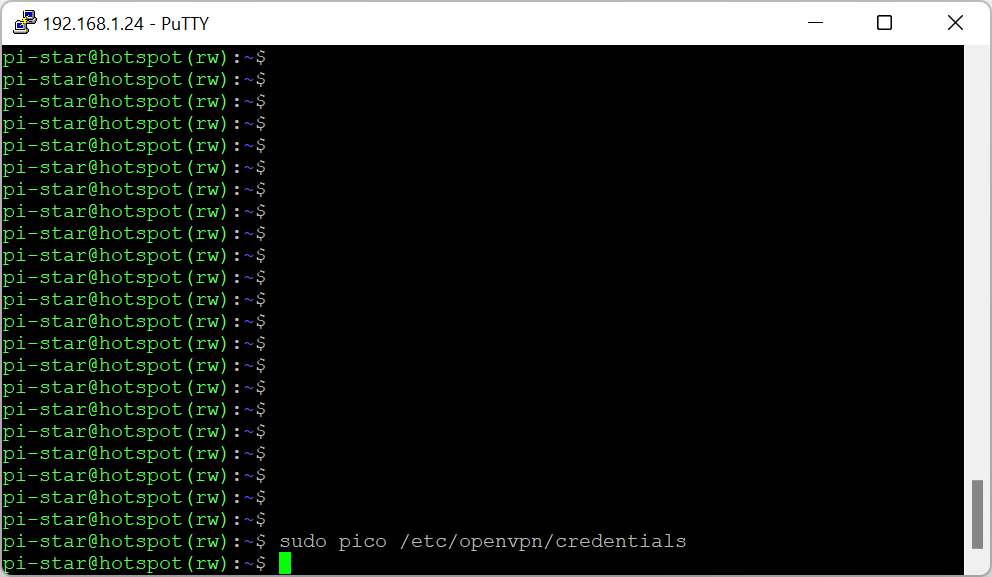
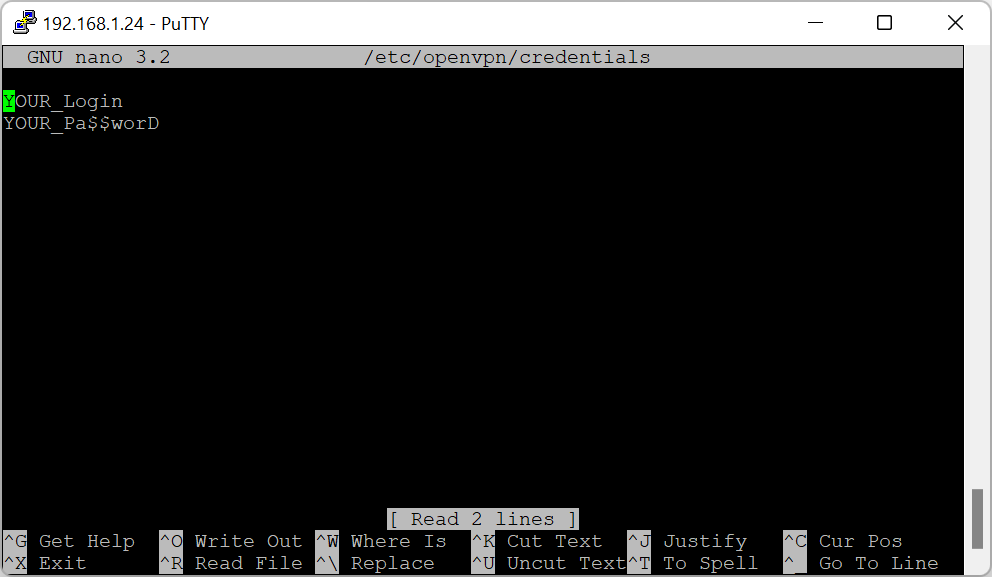
auth-user-pass /etc/openvpn/credentials
remote-cert-tls server
Save your file and exit.
Important:
redirect-gateway def1 – entire traffic goes through your VPN to your home server. It is theoretically safer but you mast trust your home internet connection!!
If you remove or # the line – main traffic will go straight to the internet, only local (VPN) requests will through your VPN.
Now press CTRL+D to go back to normal user (*** if you had to type sudo su ***)


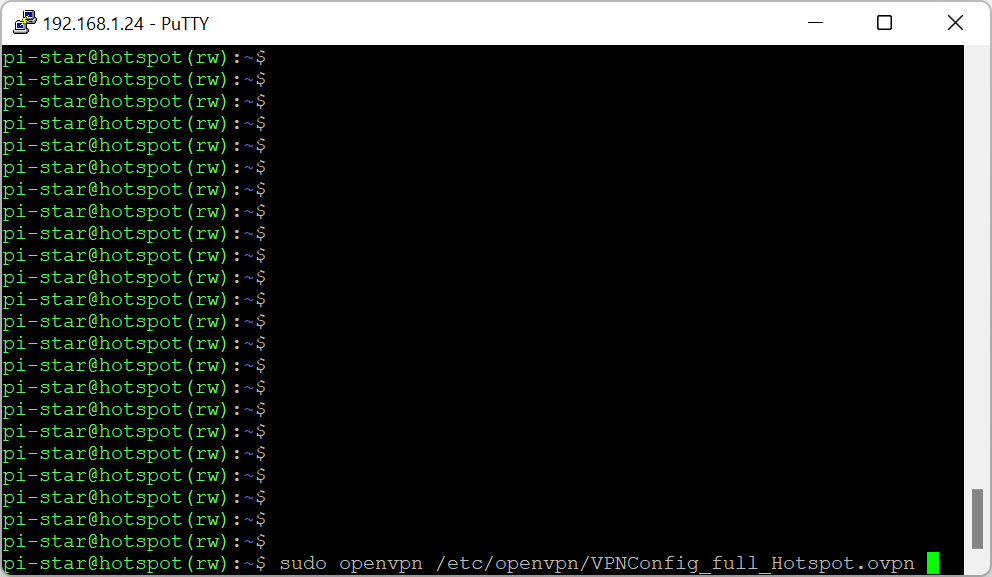
***After few weeks of testing, I found the cron is a bit unstable with running OpenVPN process. Instead I suggest omit the window below and go to the next one:***
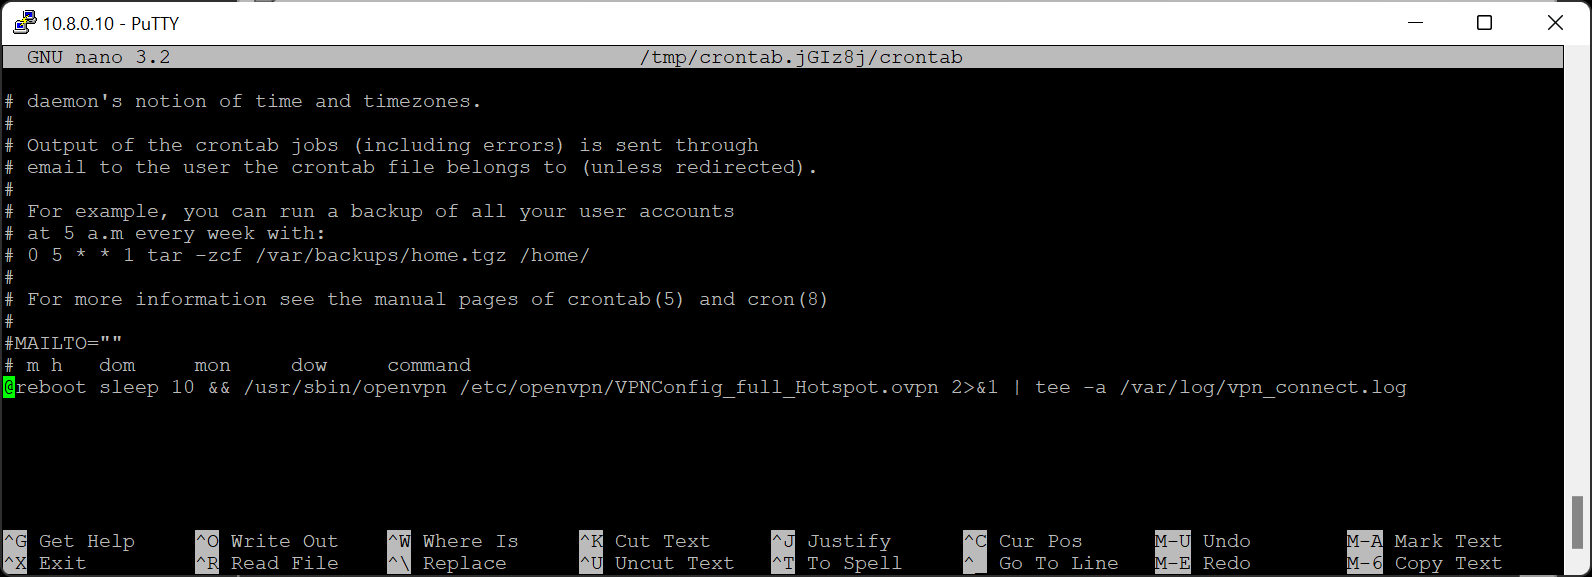
IMPORTANT! You need now to unplug your home network and connect to a different network – in my case it is a LTE / 4G dongle from Huawei. Of course it does not really matter what/who is the internet provider.
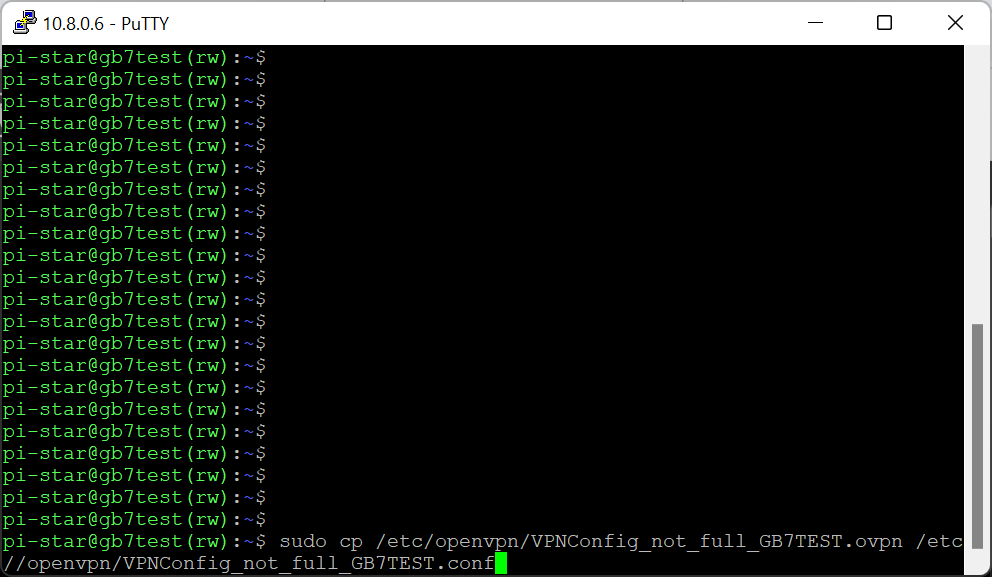
New solution – much stable!!! First of all rename or copy your existing config file:
sudo cp /etc/openvpn/VPNConfig_full_Hotspot.ovpn /etc/openvpn/VPNConfig_full_Hotspot.conf (sorry, window below shows a different filename). The reason of that is the new system will NOT recognise *.ovpn file. It has to be called *.conf
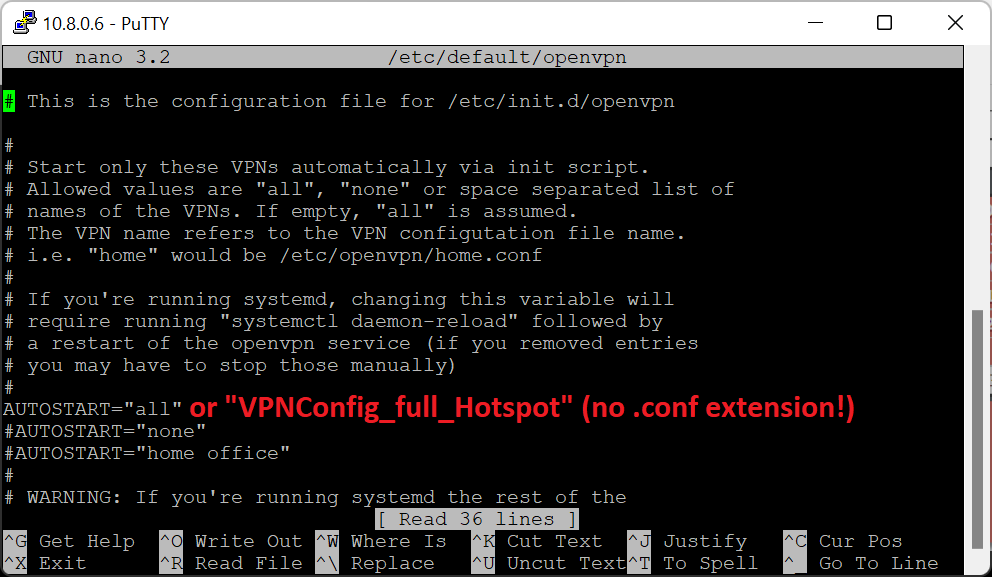
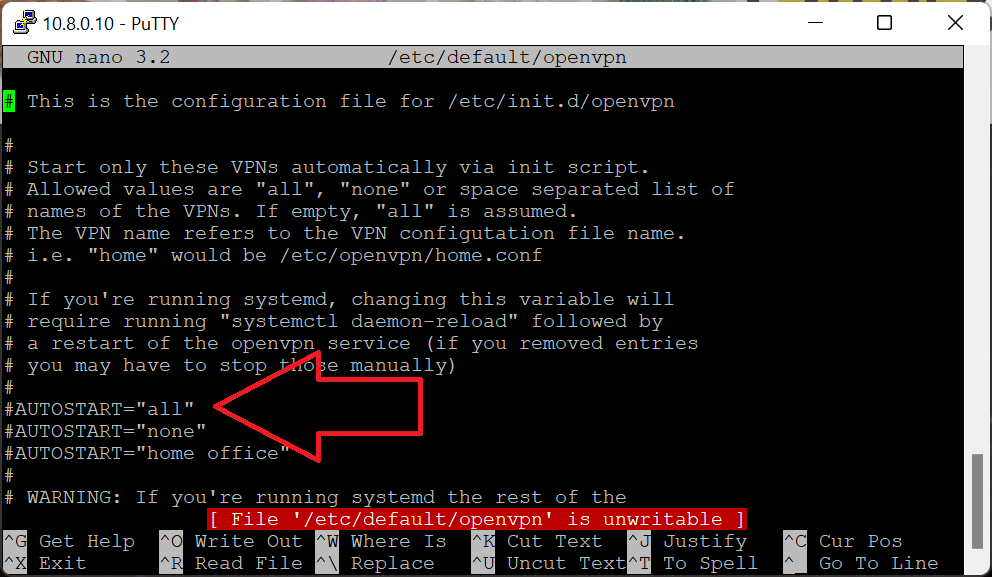
Now edit /etc/default/openvpn – important – your VPNConfig_full_Hotspot.conf file MUST be located in /etc/openvpn folder!!! The file must have extension .conf – not ovpn!!! Now inside of file openvpn you can uncomment AUTOSTART=”all” if you have only one *.conf file in /etc/openvpn or you can choose a specific one by typing for example AUTOSTART=”VPNConfig_full_Hotspot” – do not add *.conf extension!!
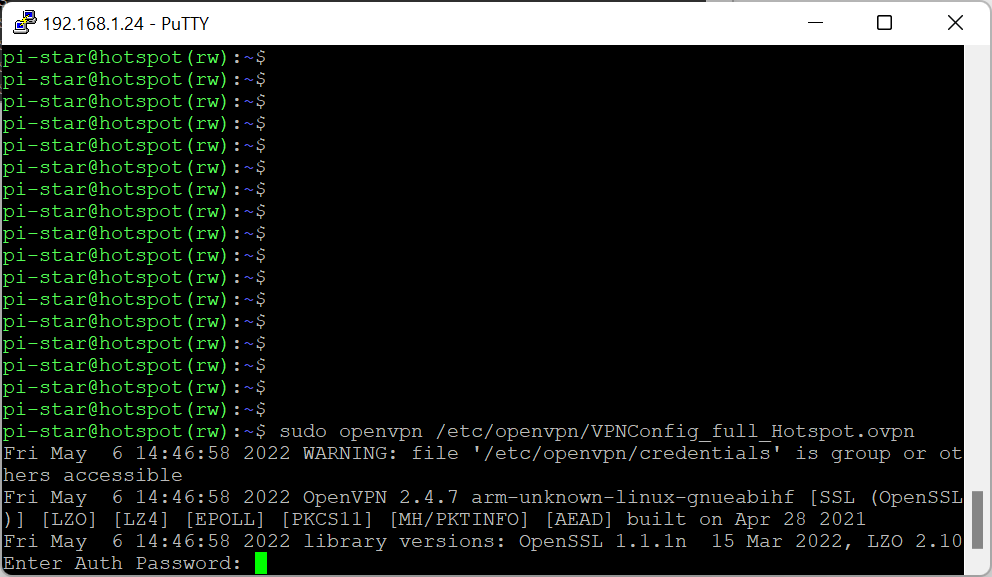
If you experience any problem, always check logs, type:
tail -f /var/log/vpn_connect.lo
or
tail -f /var/log/syslog
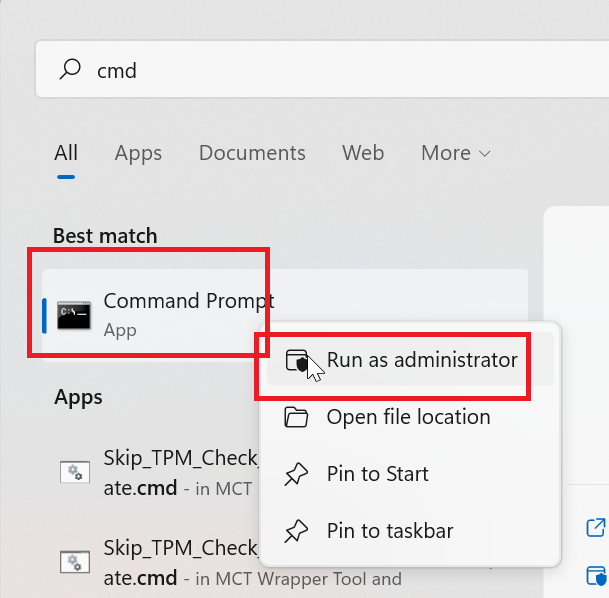
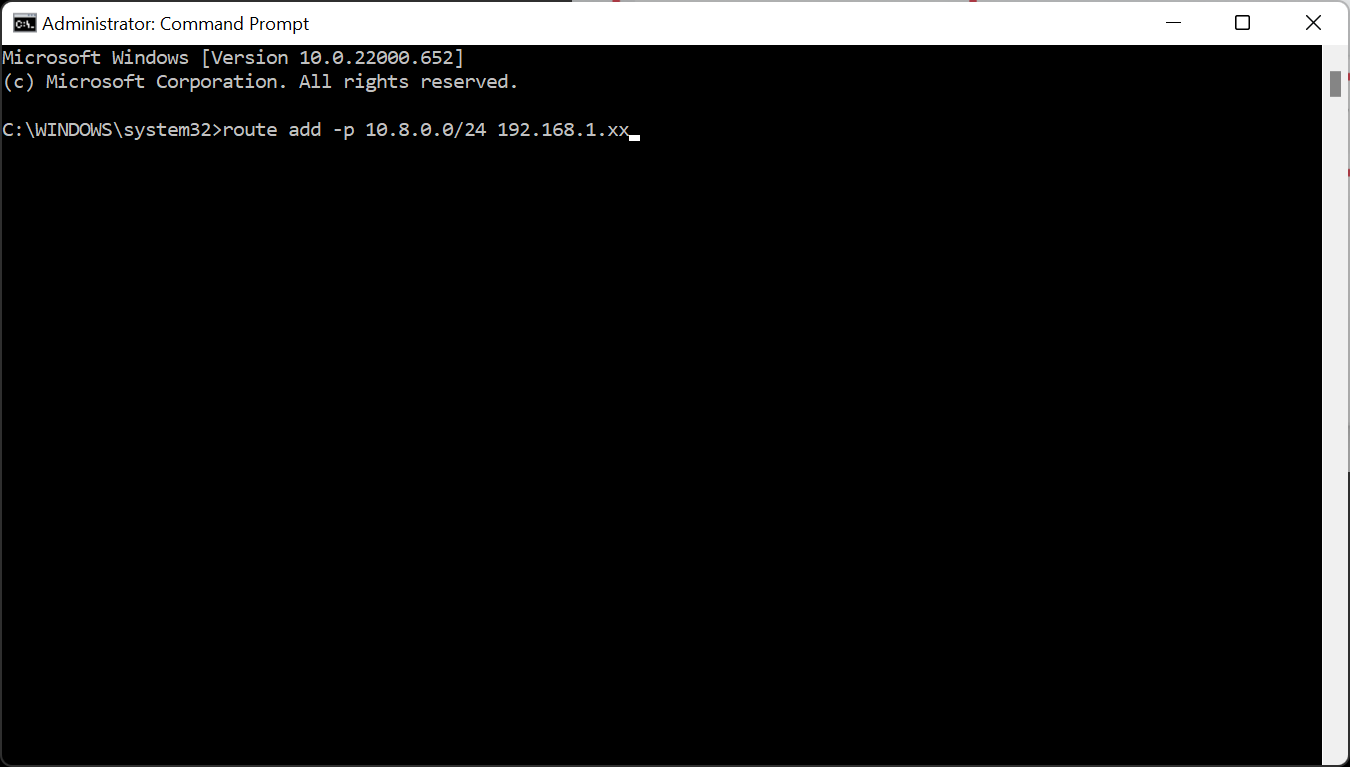
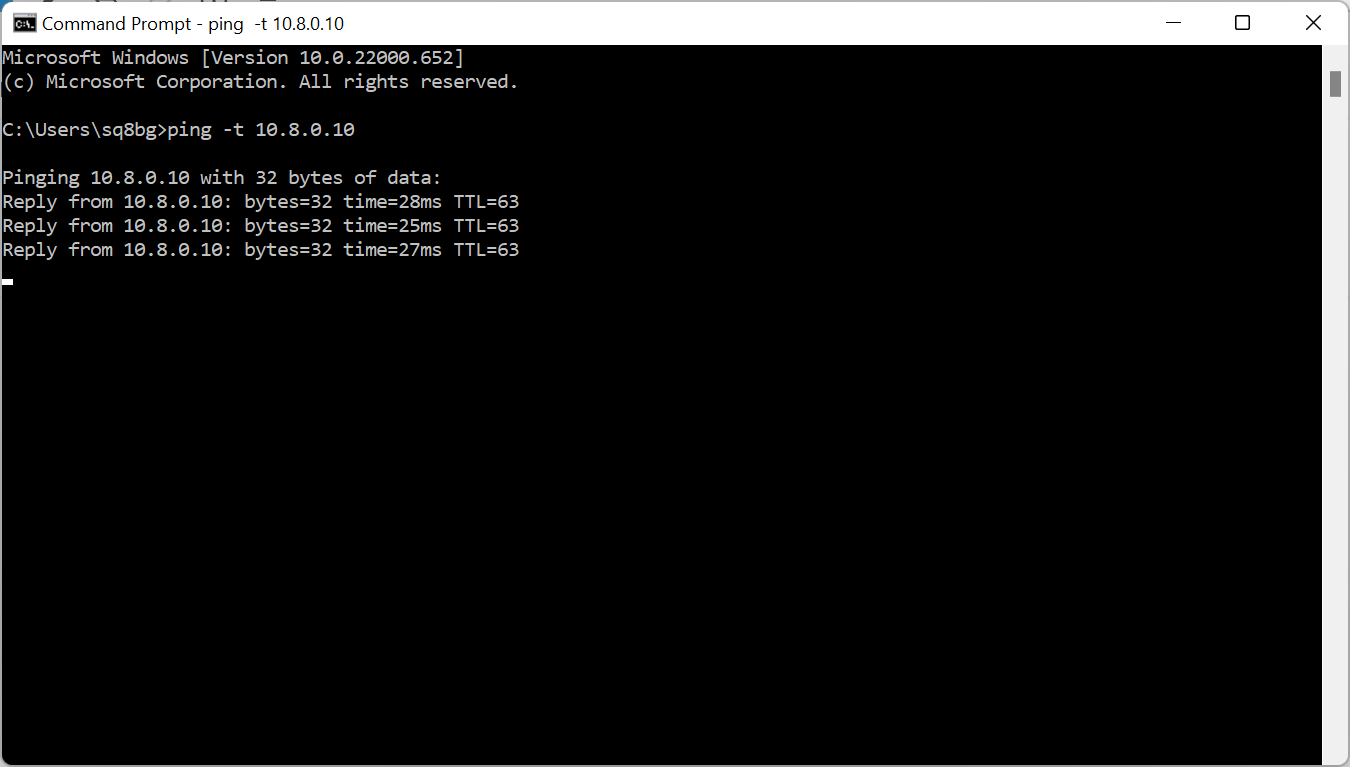
Now, from your VPN device you can ping for example your server at home 192.168.1.1 or your VPN server or any other device. However, you won’t be able to ping from your home computer the Raspberry Pi Pi-Star device, unless you tell your computer how to do it 🙂 Let’s assume it is MS Windows PC. You need to open CMD as administrator!!!
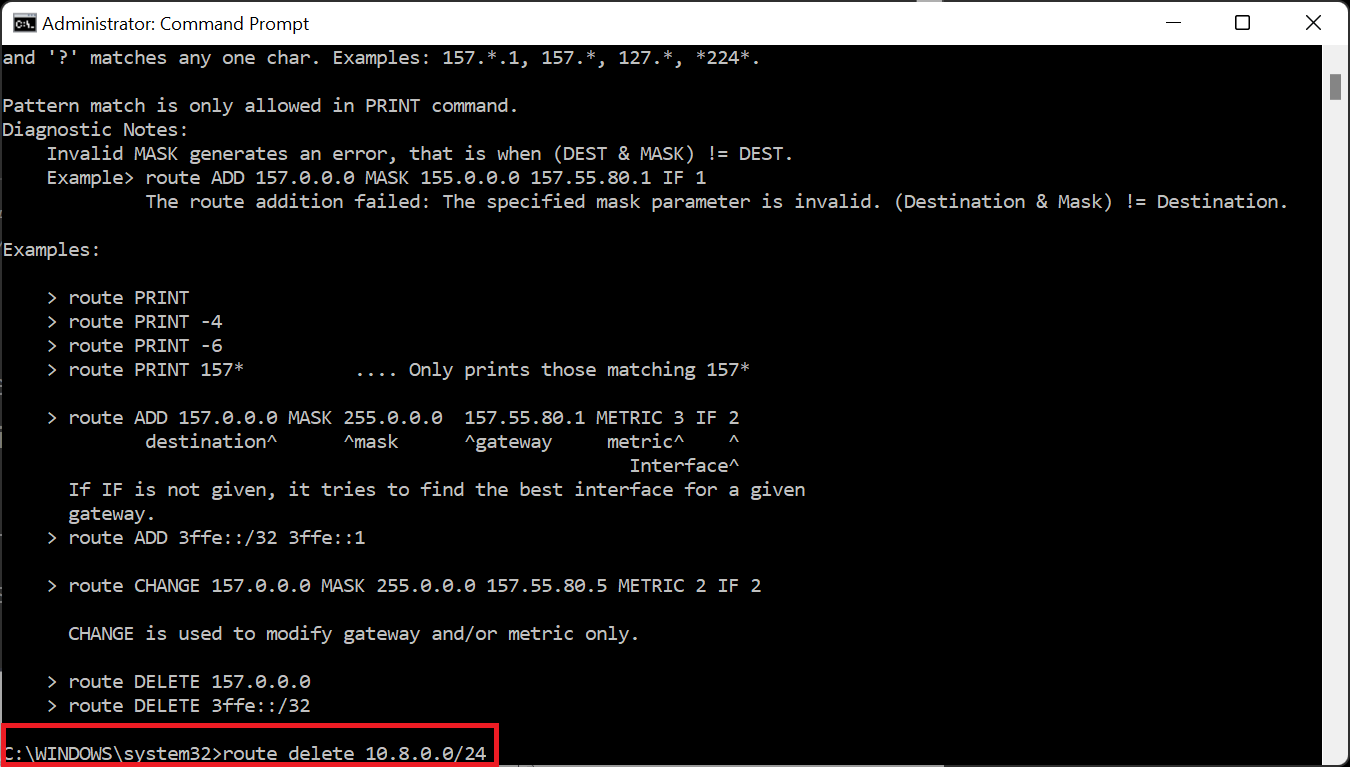
Instead of adding routing to your computer, you can add routing on your home router. So first delete the unnecessary routing from your windows machine:
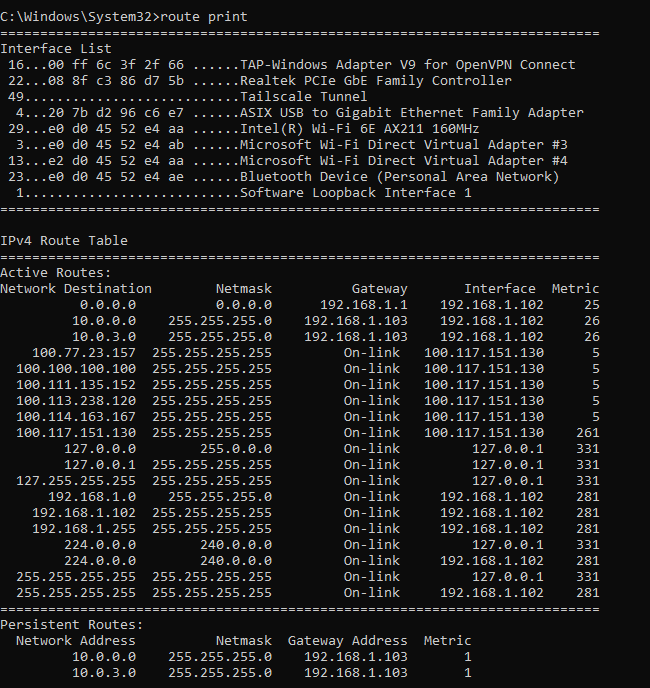
If you want to check (in windows) at any time your local routing, just simply type route print:
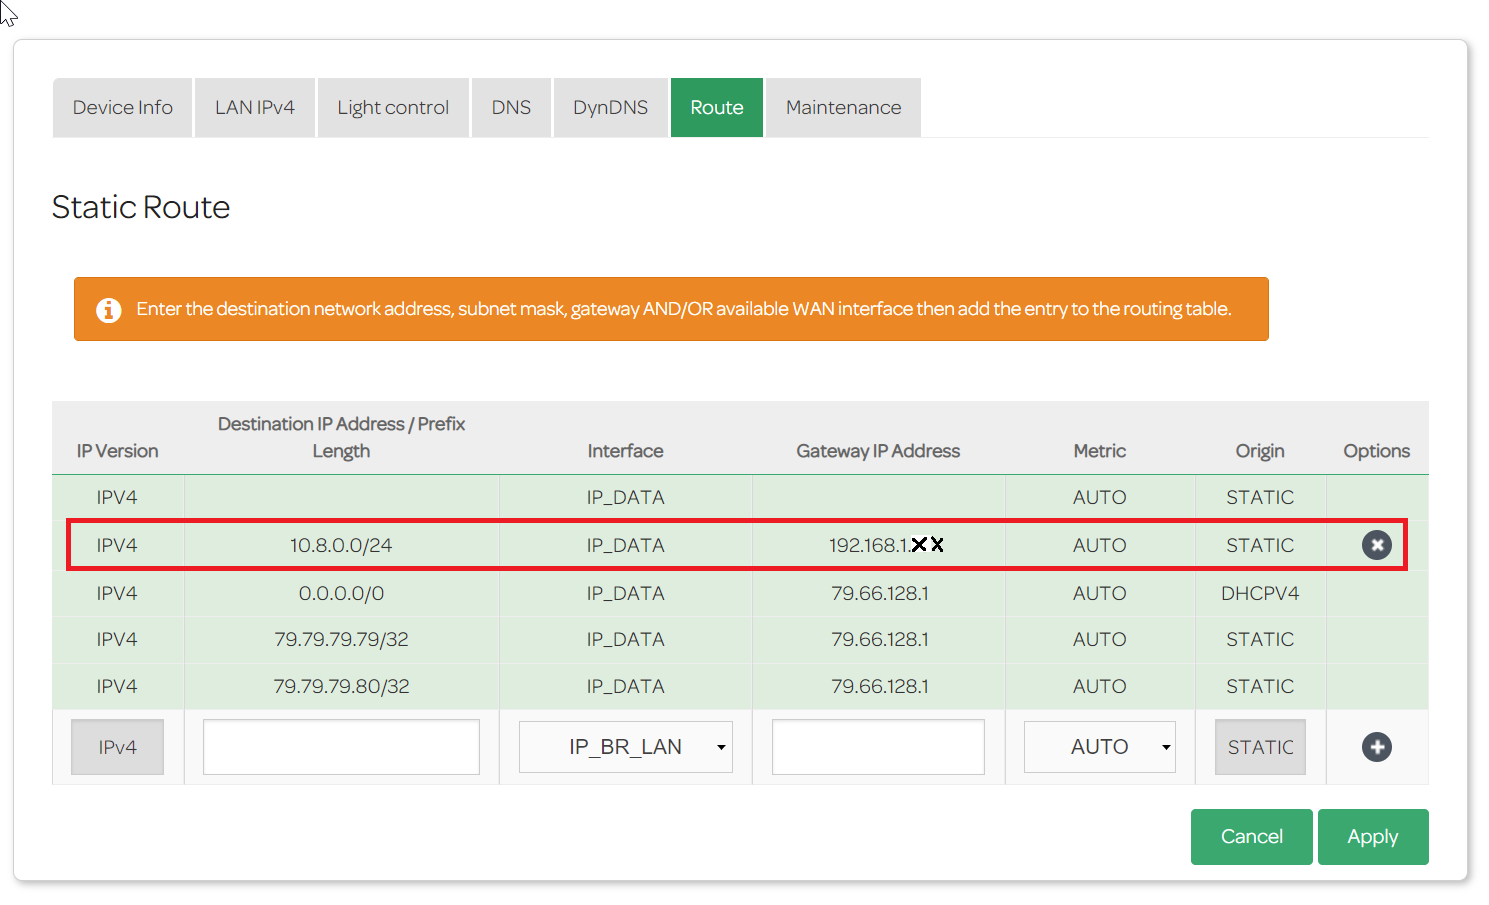
So now you have to add routing to your home internet router – on mine it looks like on the picture below. Of course yours will be slightly different, but the principle is the same.
Now, to make sure that everything is OK – simply restart your Raspberry Pi with Pi-Star and double check if everything is working correctly after reboot.
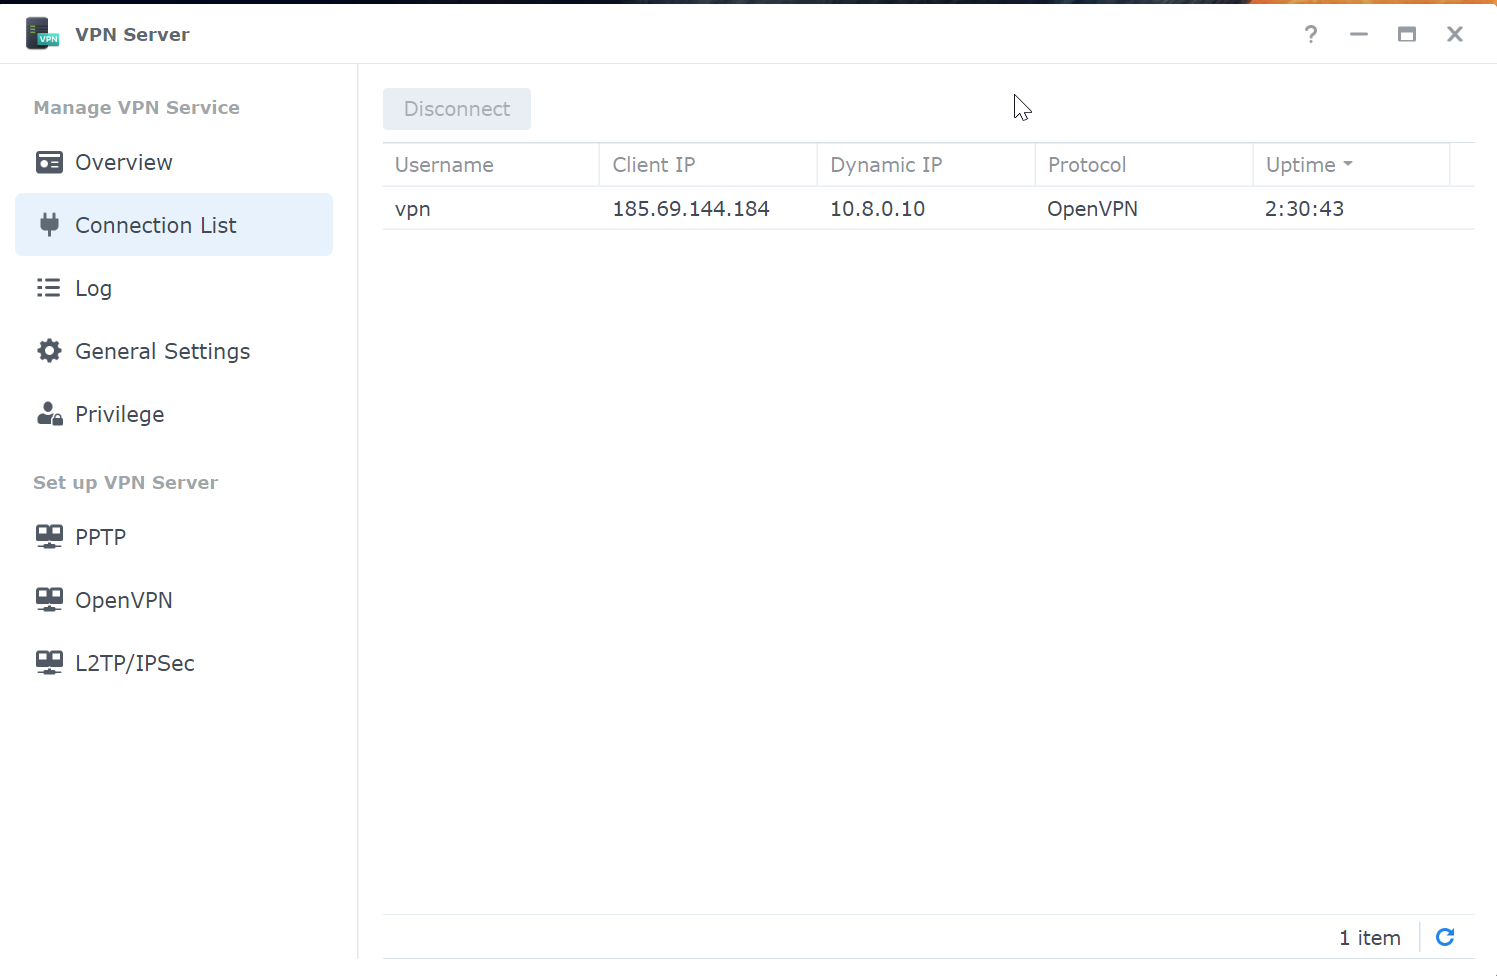
In the future, to find out what IP gets your device, you can for example go to your VPN server to see what IP has been assigned:

If at any stage of the tutorial above you find out that you can write a file (error message saying file is unwritable) – just simply type sudo su to become a permanent superuser. Then after saving the file press CTRL+D to go back to a normal user.
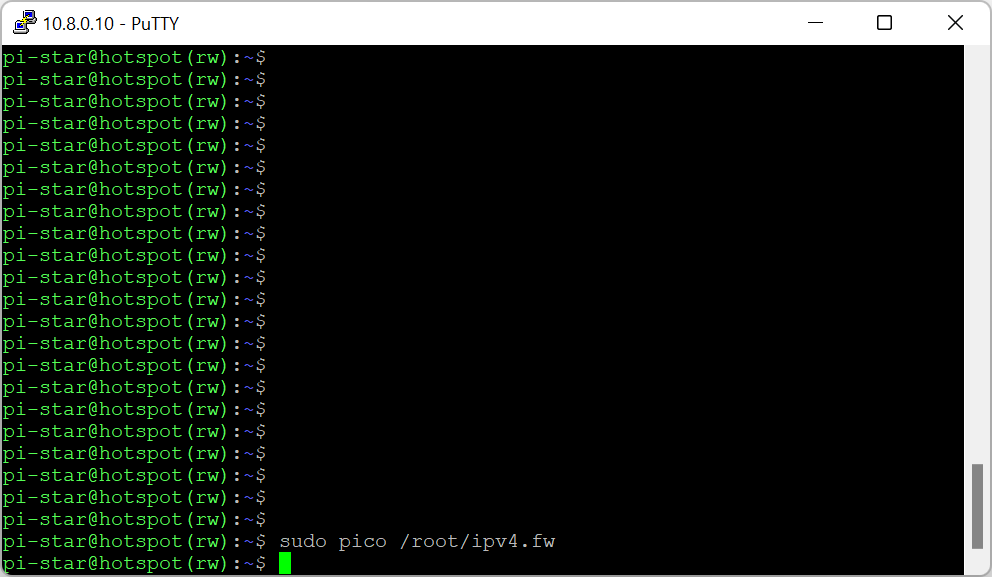
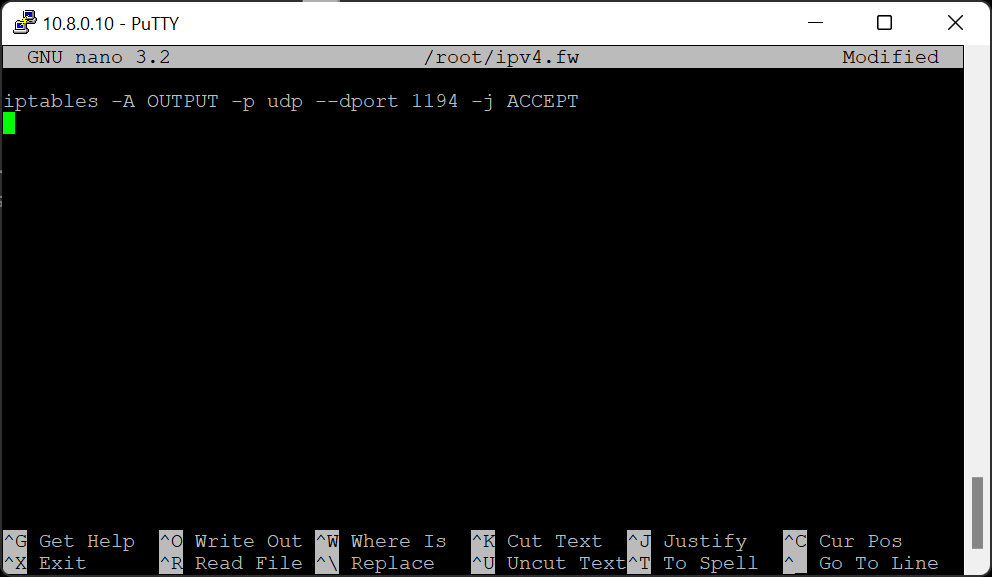
Also if for any reasons you decide to play with iptables and you get an error message saying:
write UDP: Operation not permitted (code=1)
just simply switch to superuser – sudo su and type the command again – it will work:)
Sources:
https://forum.pistar.uk/viewtopic.php?t=2275
https://forum.pistar.uk/viewtopic.php?f=11&t=1113
http://wiki.pistar.uk/Adding_custom_firewall_rules_to_Pi-Star