Bambu P1S (and X1C and P1P) – how to use a sideloaded filament together with the AMS?
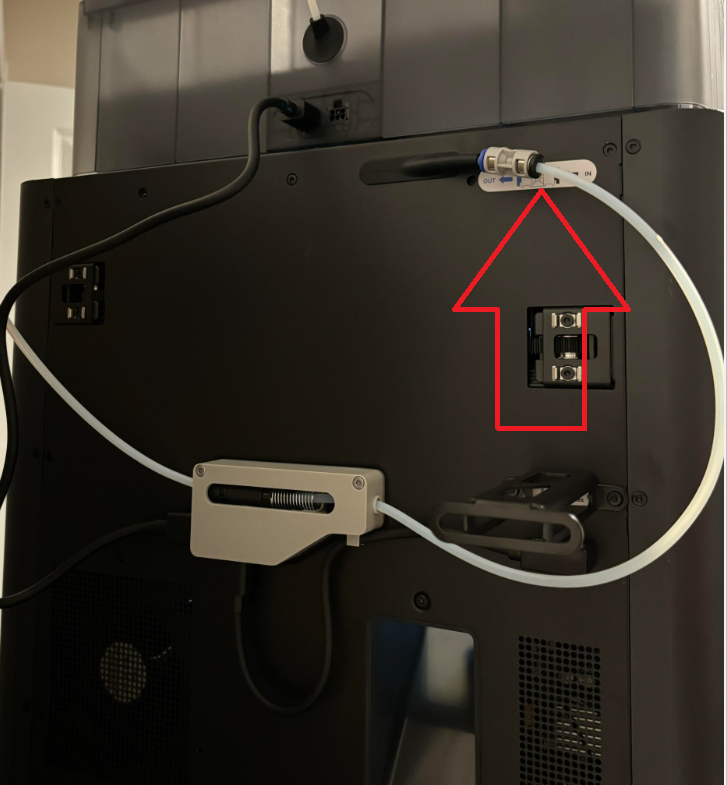
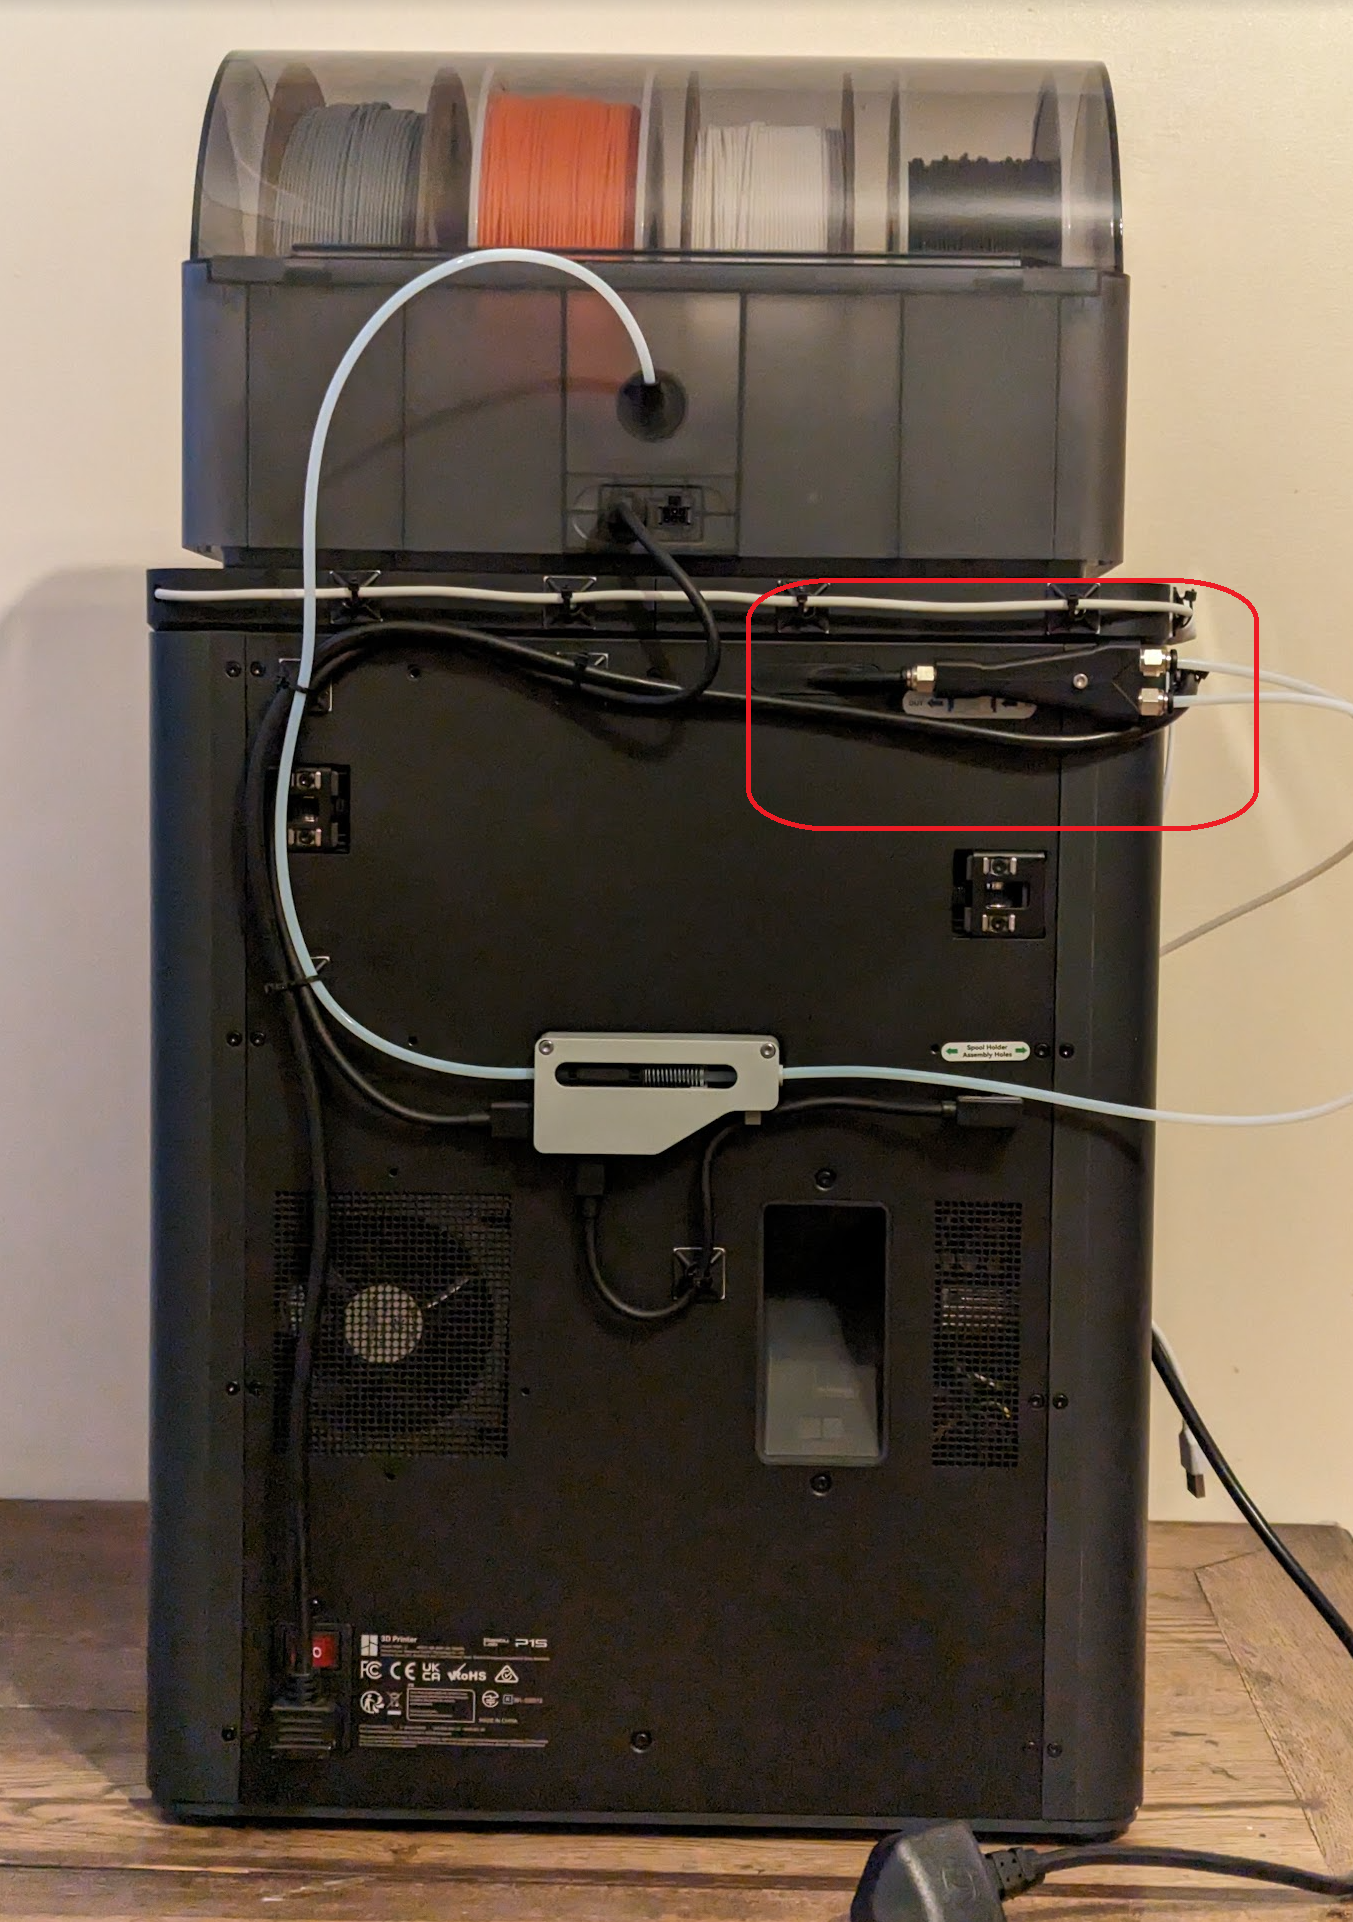
Well, the first question is why? It is pointless to use sideloaded filament when you can use a nice and convenient AMS system. Yes, except one special situations. You want to print TPU (very soft filament). TPU filament won’t work correctly with AMS. No chance. So you need to disconnect AMS and connect the TPU filament here:
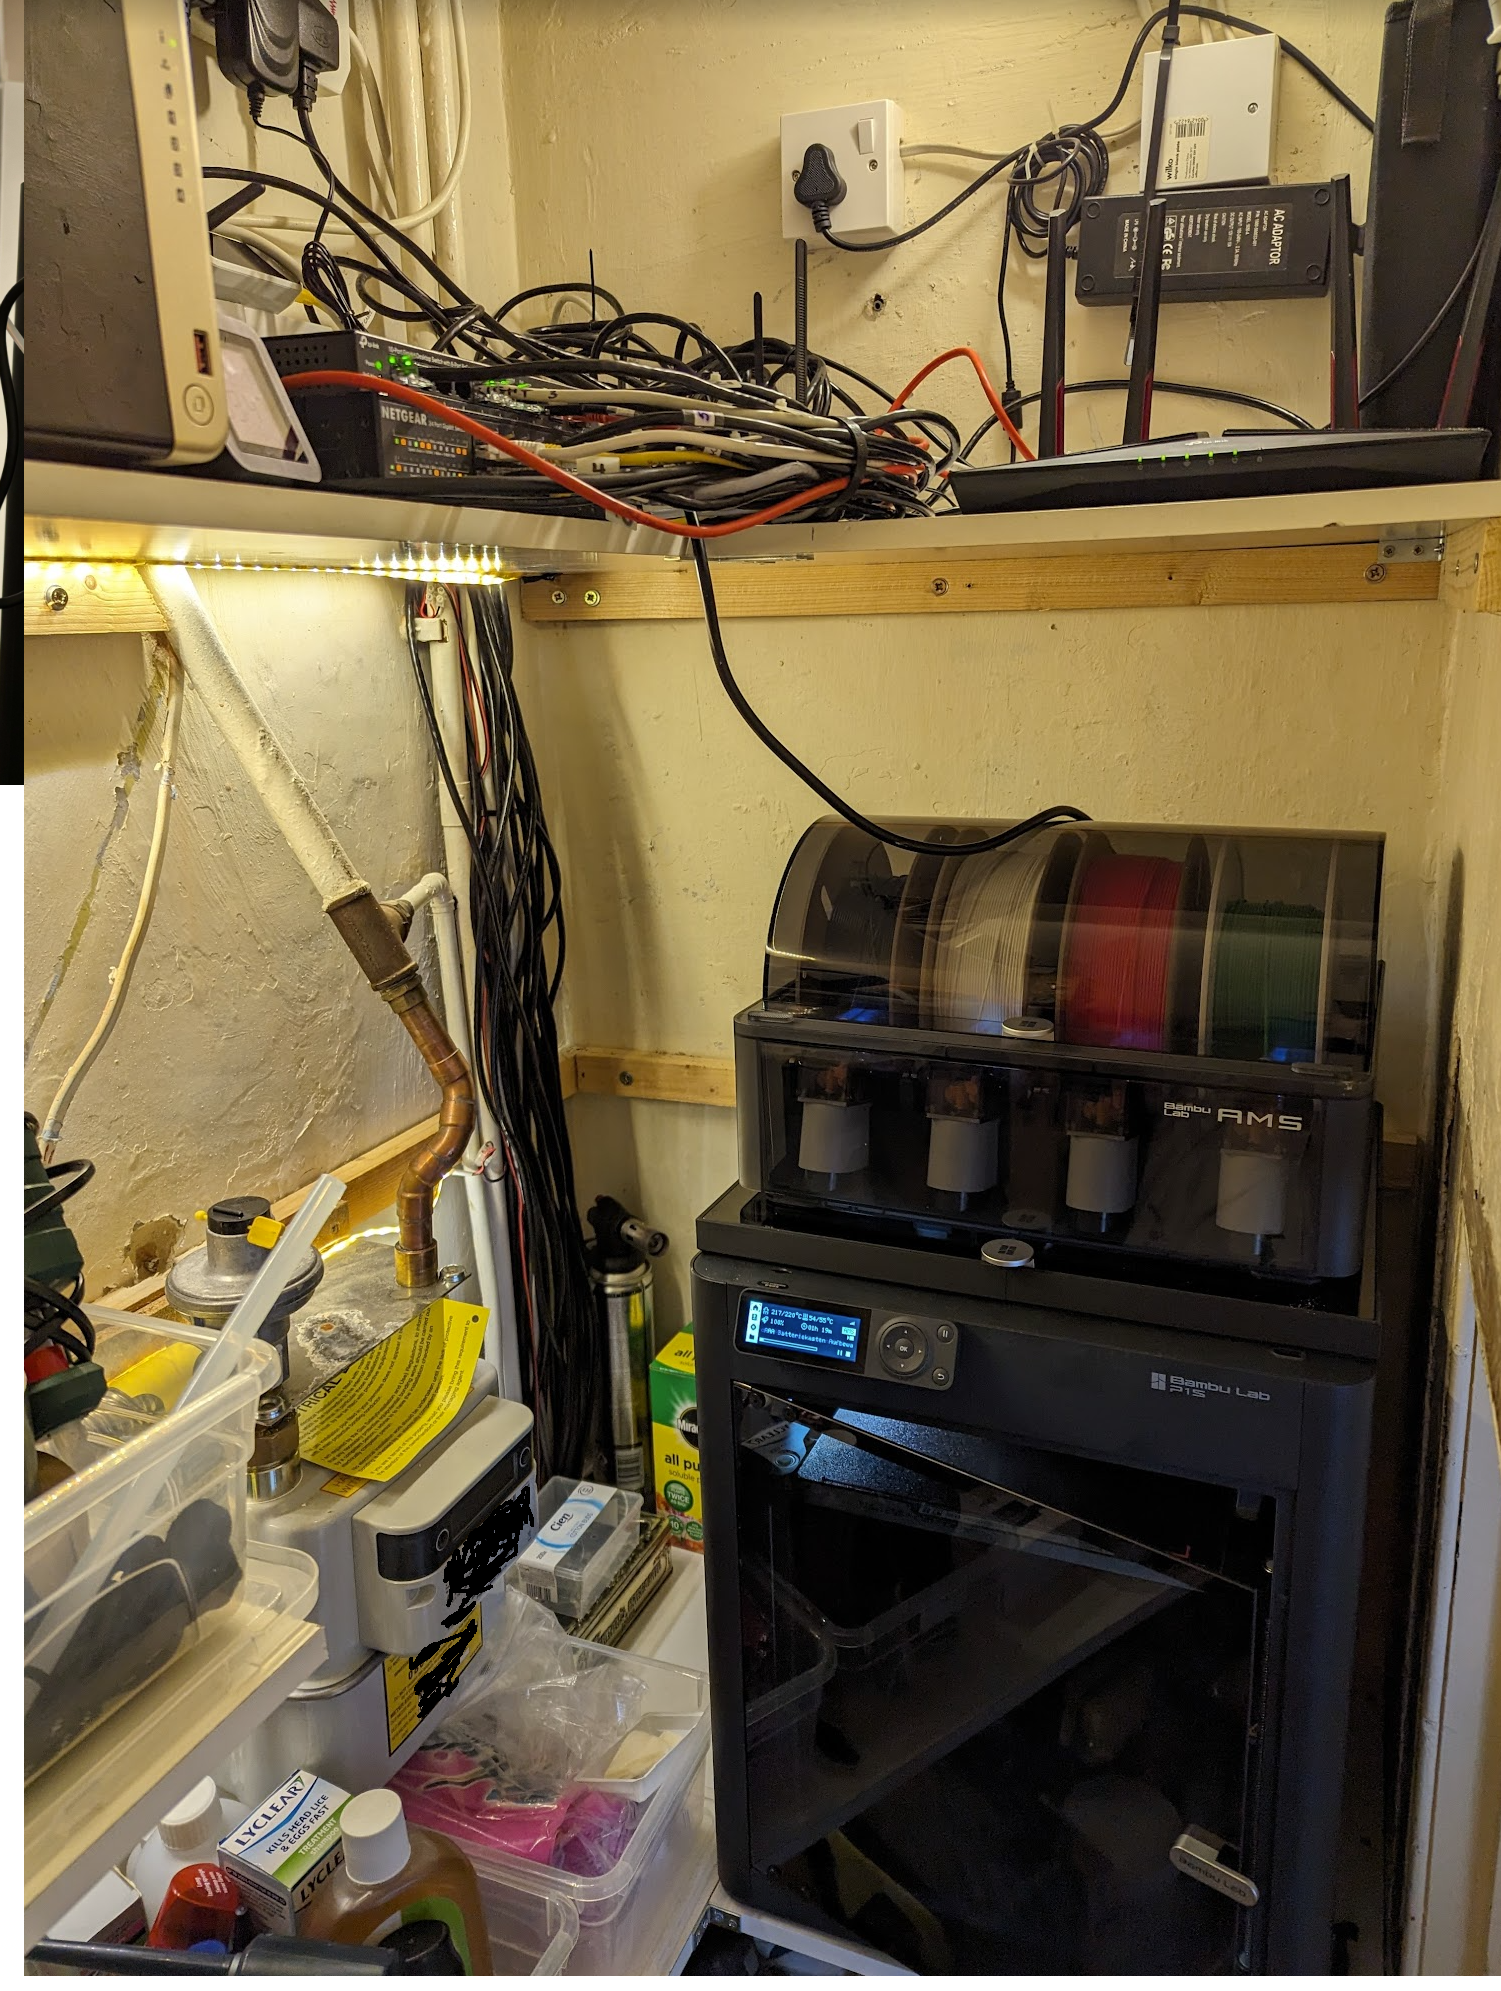
Theoretically no problem at all. Unless, like many users, you have no easy access to the back of the printer. In my particular case, I cannot get access to the back at all, as I cannot rotate the printer at all, I have to unplug it and move few meters away and place on the table. Seriously:
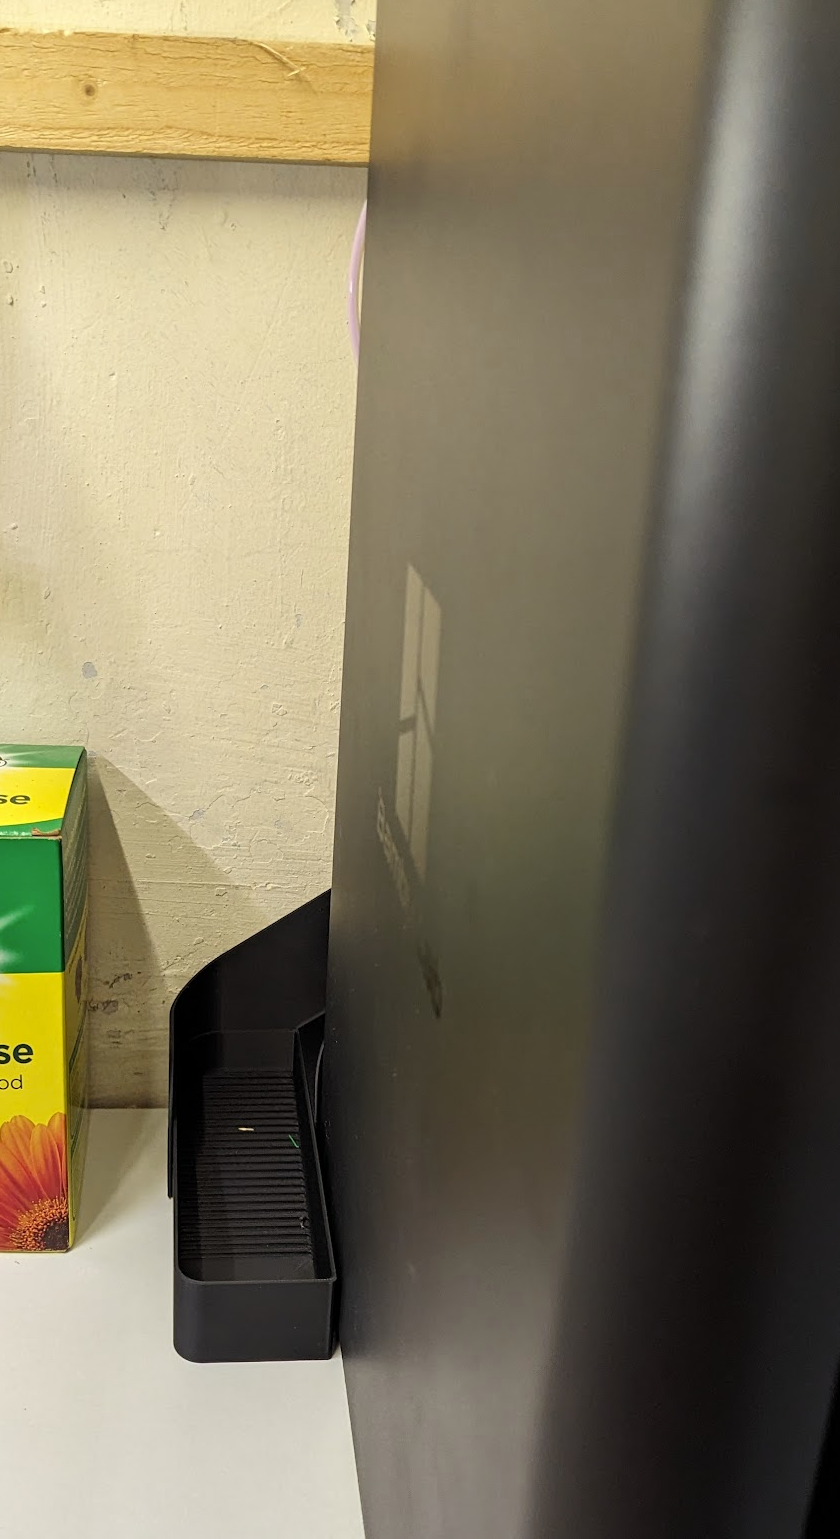
So I not only printed a nice poo collector…
…but also I found how to resolve the problem with the TPU and AMS when you have no access to the back of the Bambu PS1 printer.
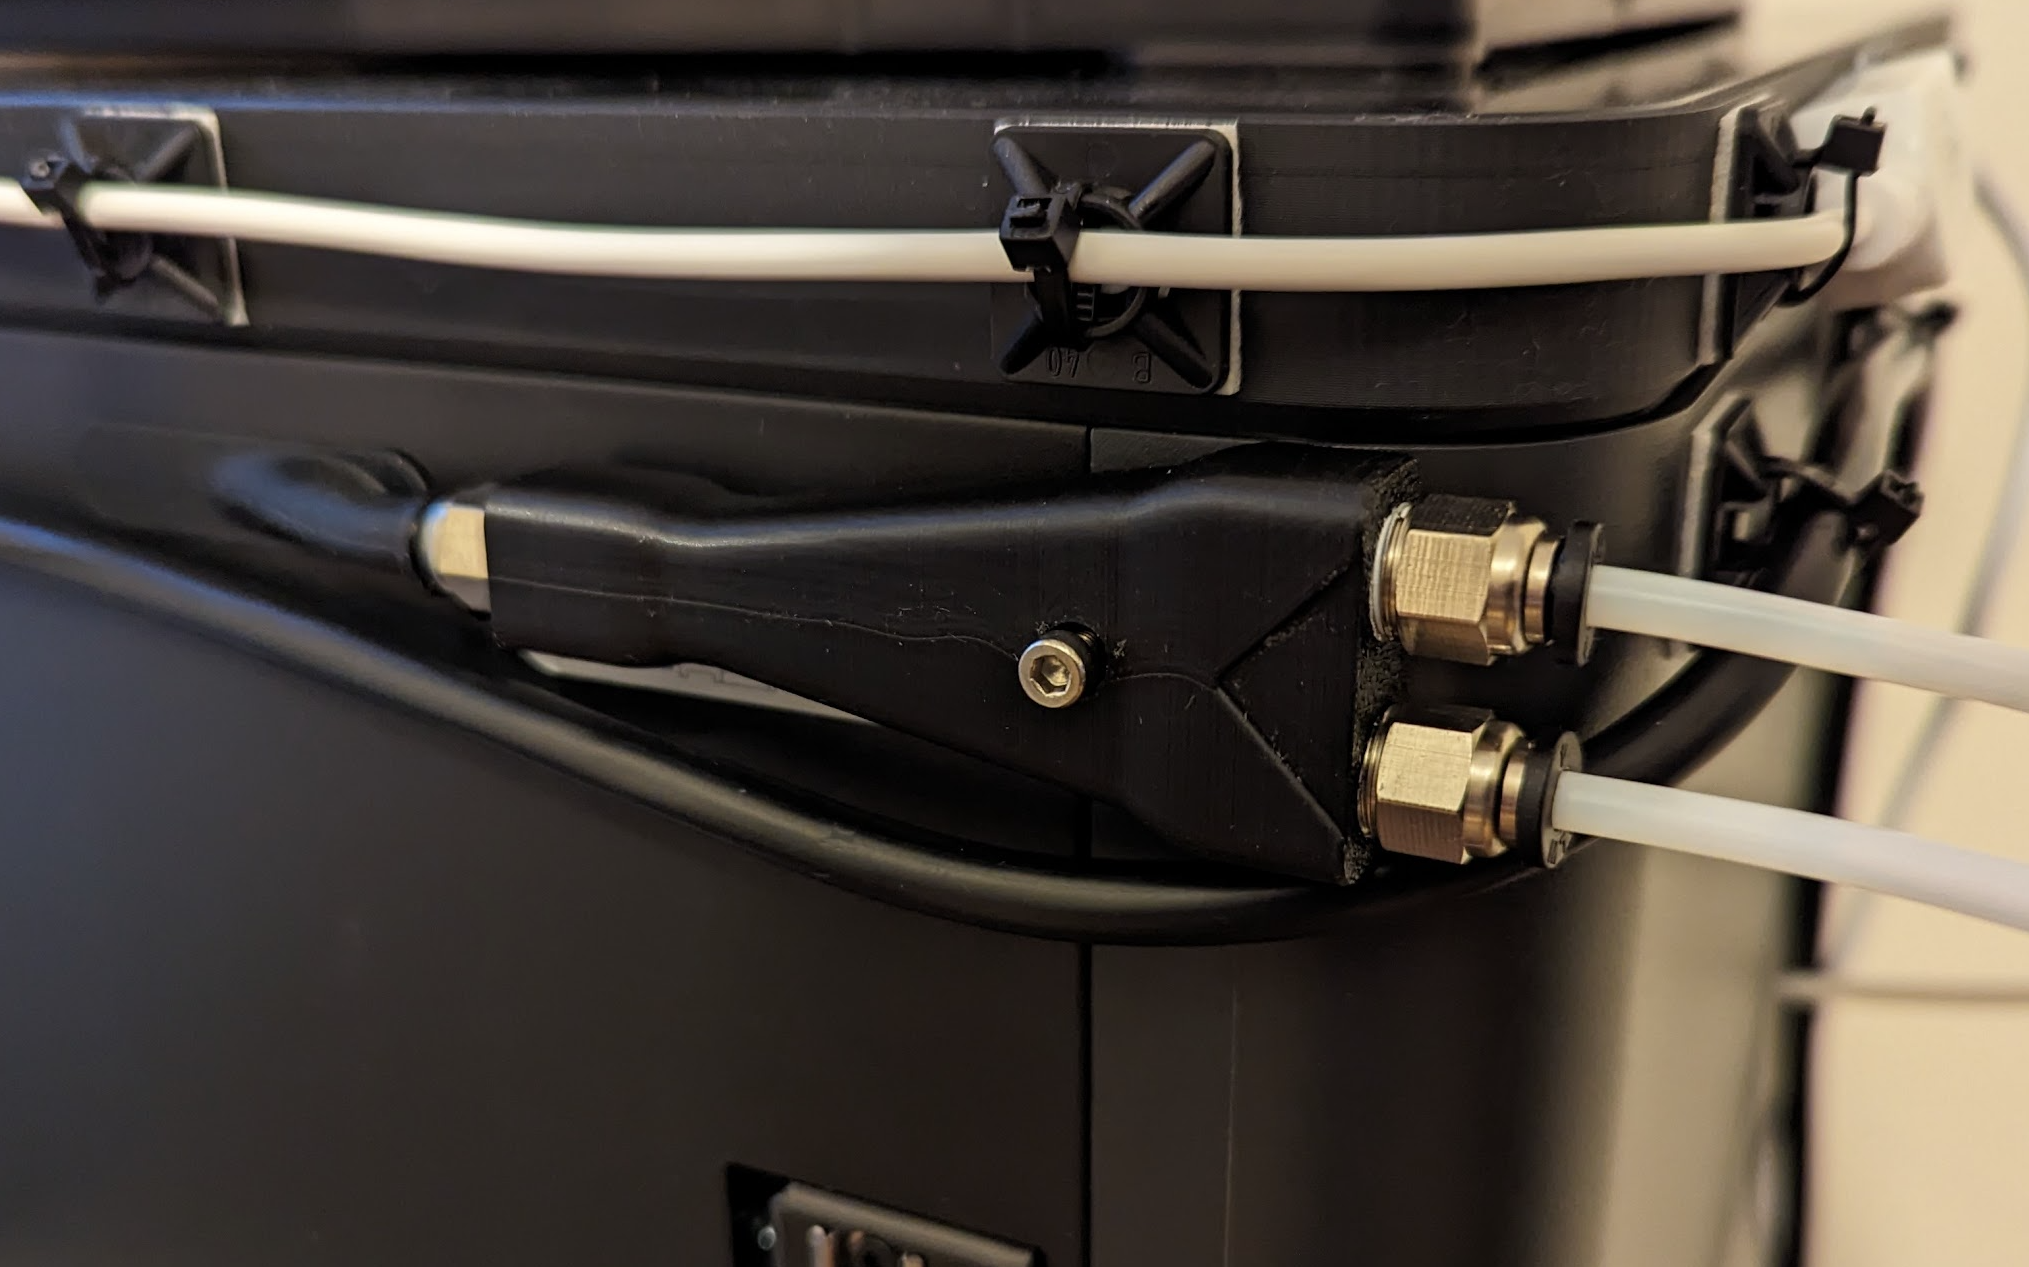
The solution is a special splitter:
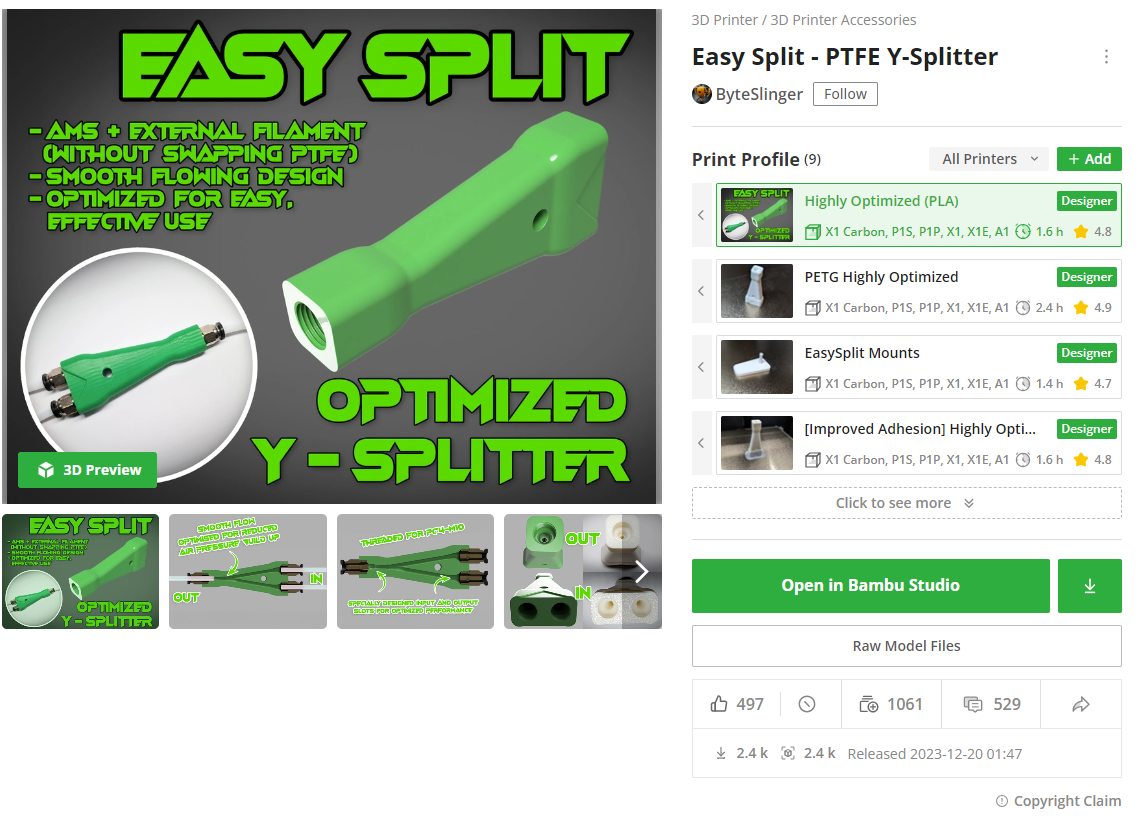
There is a lot of them but the one from above is apparently the best one – link below
https://makerworld.com/en/models/100346#profileId-107061
and it looks like that:
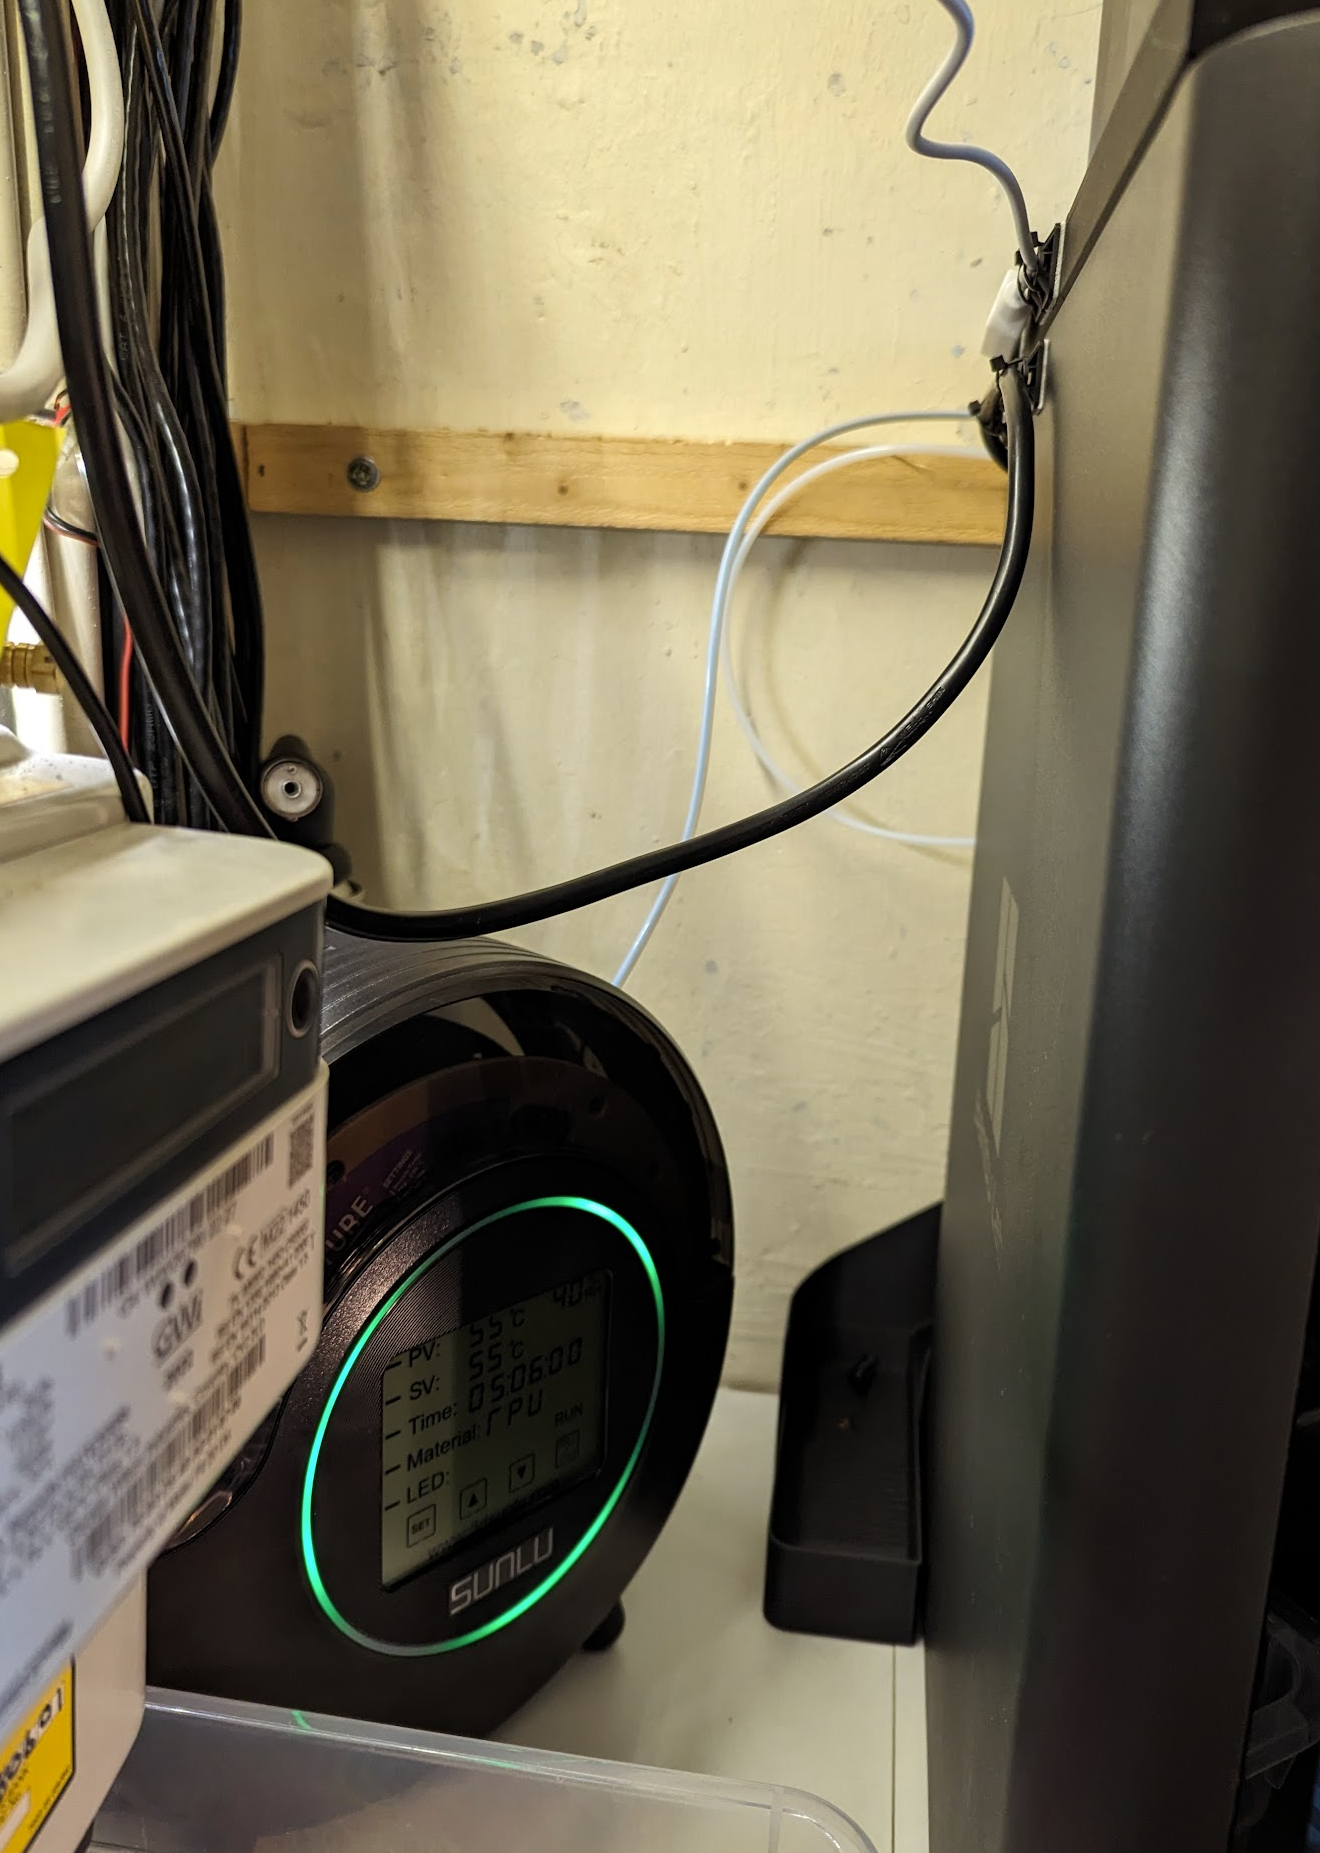
It works perfect with the Sunlu filament dryer:
I hope that I was able to provide some kind of inspiration – good luck!
Then, how to actually print?
It is not difficult.
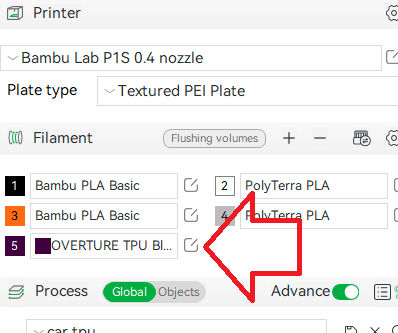
You set up Generic TPU here:
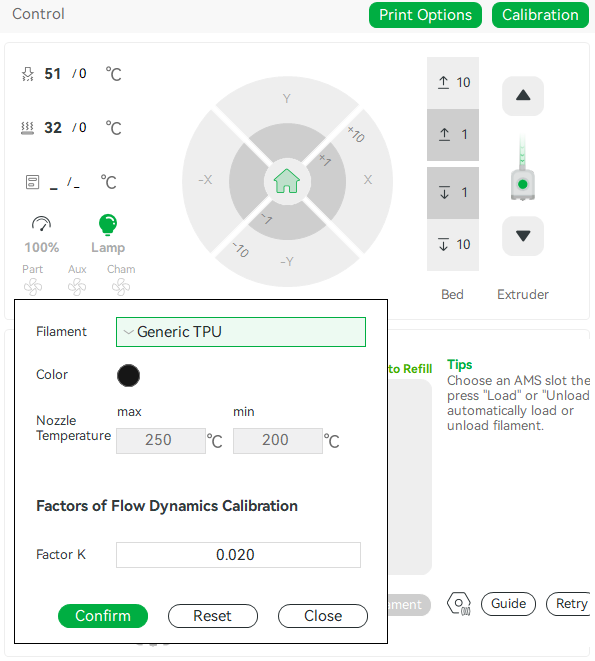
Then, as I used a filament from outside of the list, I set up my own custom filament. Surprisingly it is not enough. You also have to go to the objects and select correct filament:
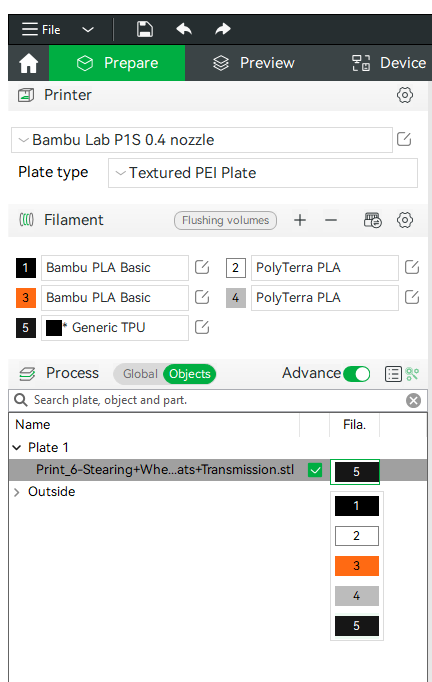
I did not know that I had to do the above, and the symptom was that the bed temperature was jumping from what I set up to 55C which is typical for PLA. I was lowering down the setting back to let’s say 30C for the bed temperature and then it was jumping up back to 55C – as another line in the gcode was asking to do it. I had to correct it 3 times before it stopped changing. So make so set up correct sideloaded filament for your plate! Despite the AMS was deactivated (see the second picture below) it was using the settings for PLA.
slice it, and then print:
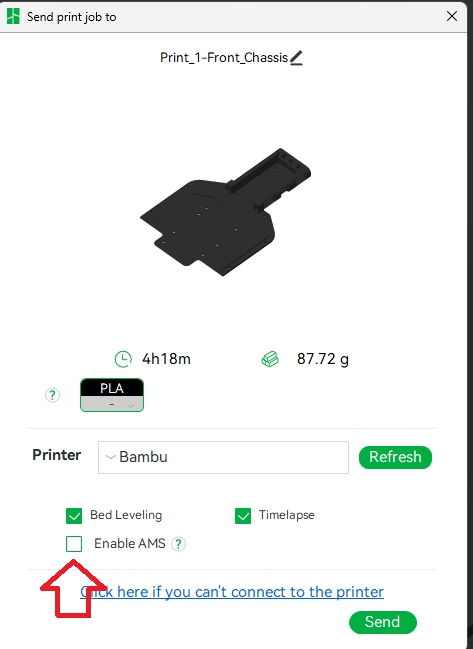
The only one thing you need to do is to deselect the AMS.
One extra tip – just to make your life easier. The TOU sticks to the textured plate like hell – one day I spent like 30 minutes trying to remove the printed object. I found it becomes easier when I uncreased the elephant foot compensation from the default 0.15mm to 0.2mm. Much better.
Happy printing!! 🙂