I have got from eBay a very cheap OLED display module 0.96″ I2C 128X64. But.. how to run it?
Follow the procedure below and you will get it 🙂
Do not forget to update your raspberry PI!
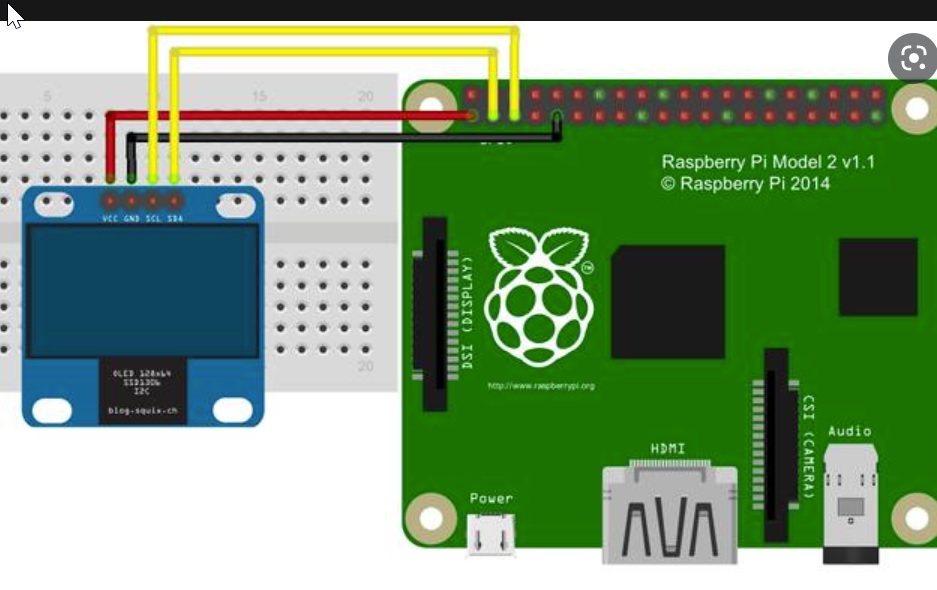
And then do wiring:
Then type all lines below:
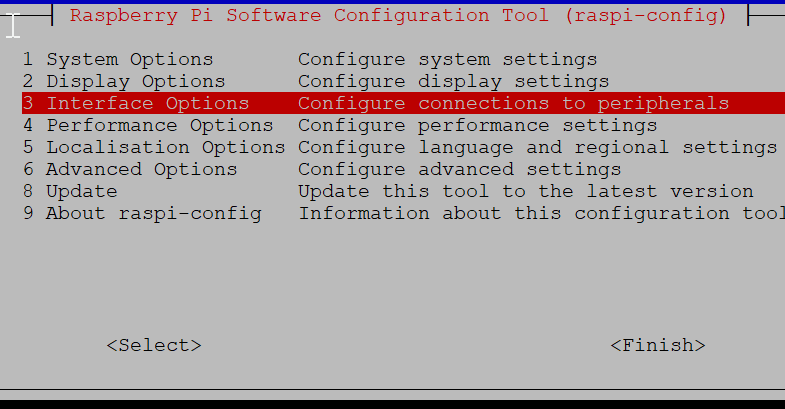
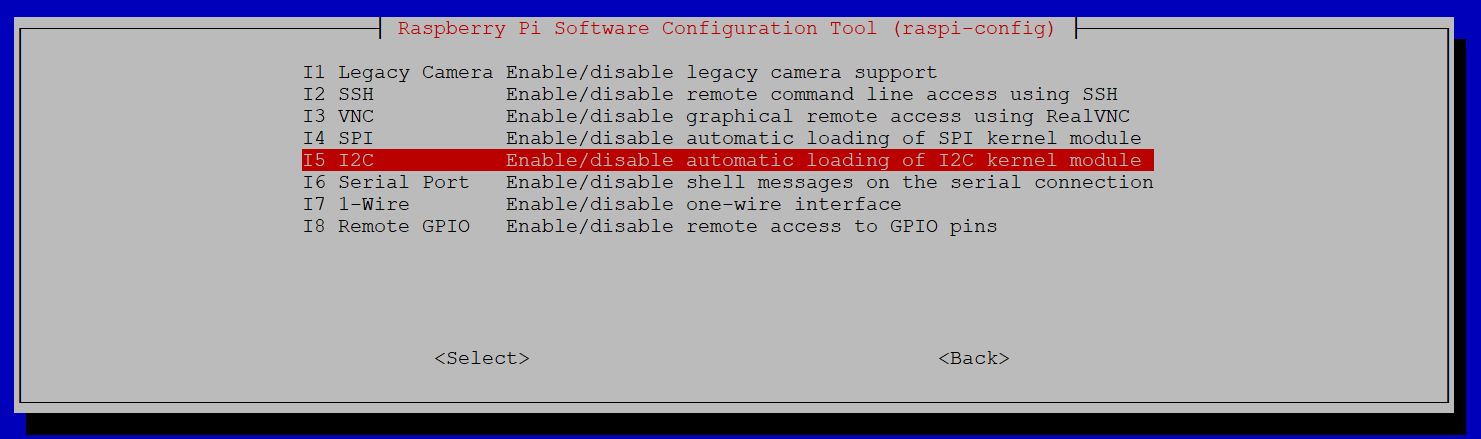
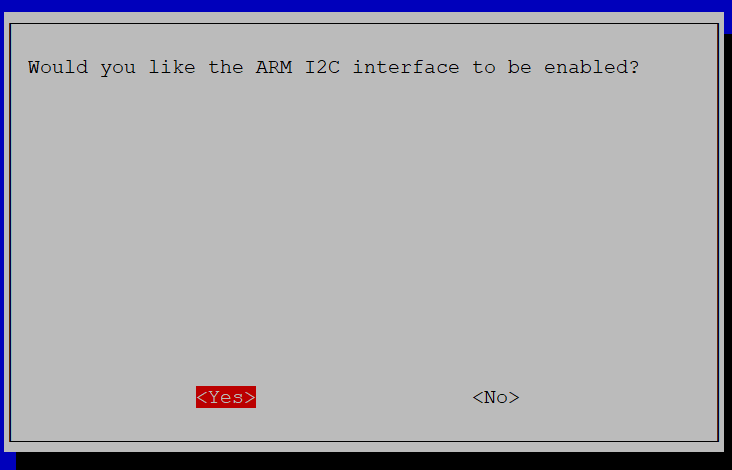
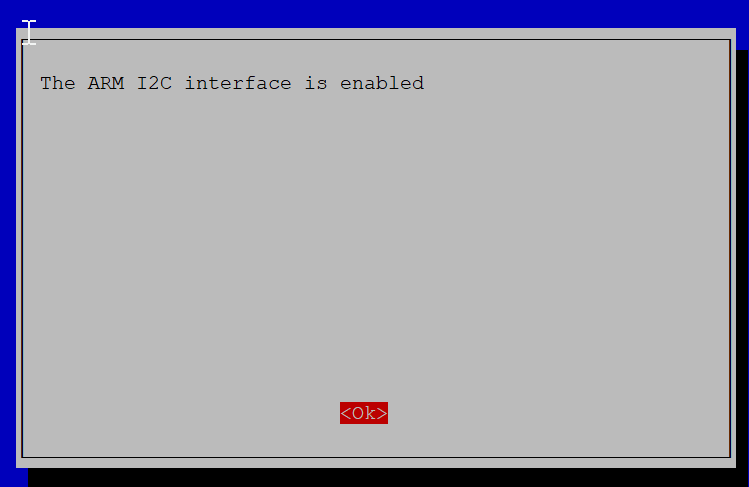
sudo raspi-config
sudo apt install -y python3-dev
sudo apt install -y python-smbus i2c-tools
sudo apt install -y python3-pil
sudo apt install -y python3-pip
sudo apt install -y python3-setuptools
sudo apt install -y python3-rpi.gpio
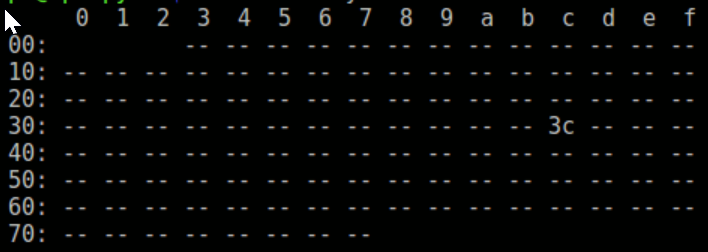
If you have i2cdetect installed, it will confirm that your display is visible when you type:
i2cdetect -y 1
sudo apt install -y git
git clone https://github.com/adafruit/Adafruit_Python_SSD1306.git
cd Adafruit_Python_SSD1306
sudo python setup.py install
sudo python3 setup.py install
cd examples
python3 stats.py
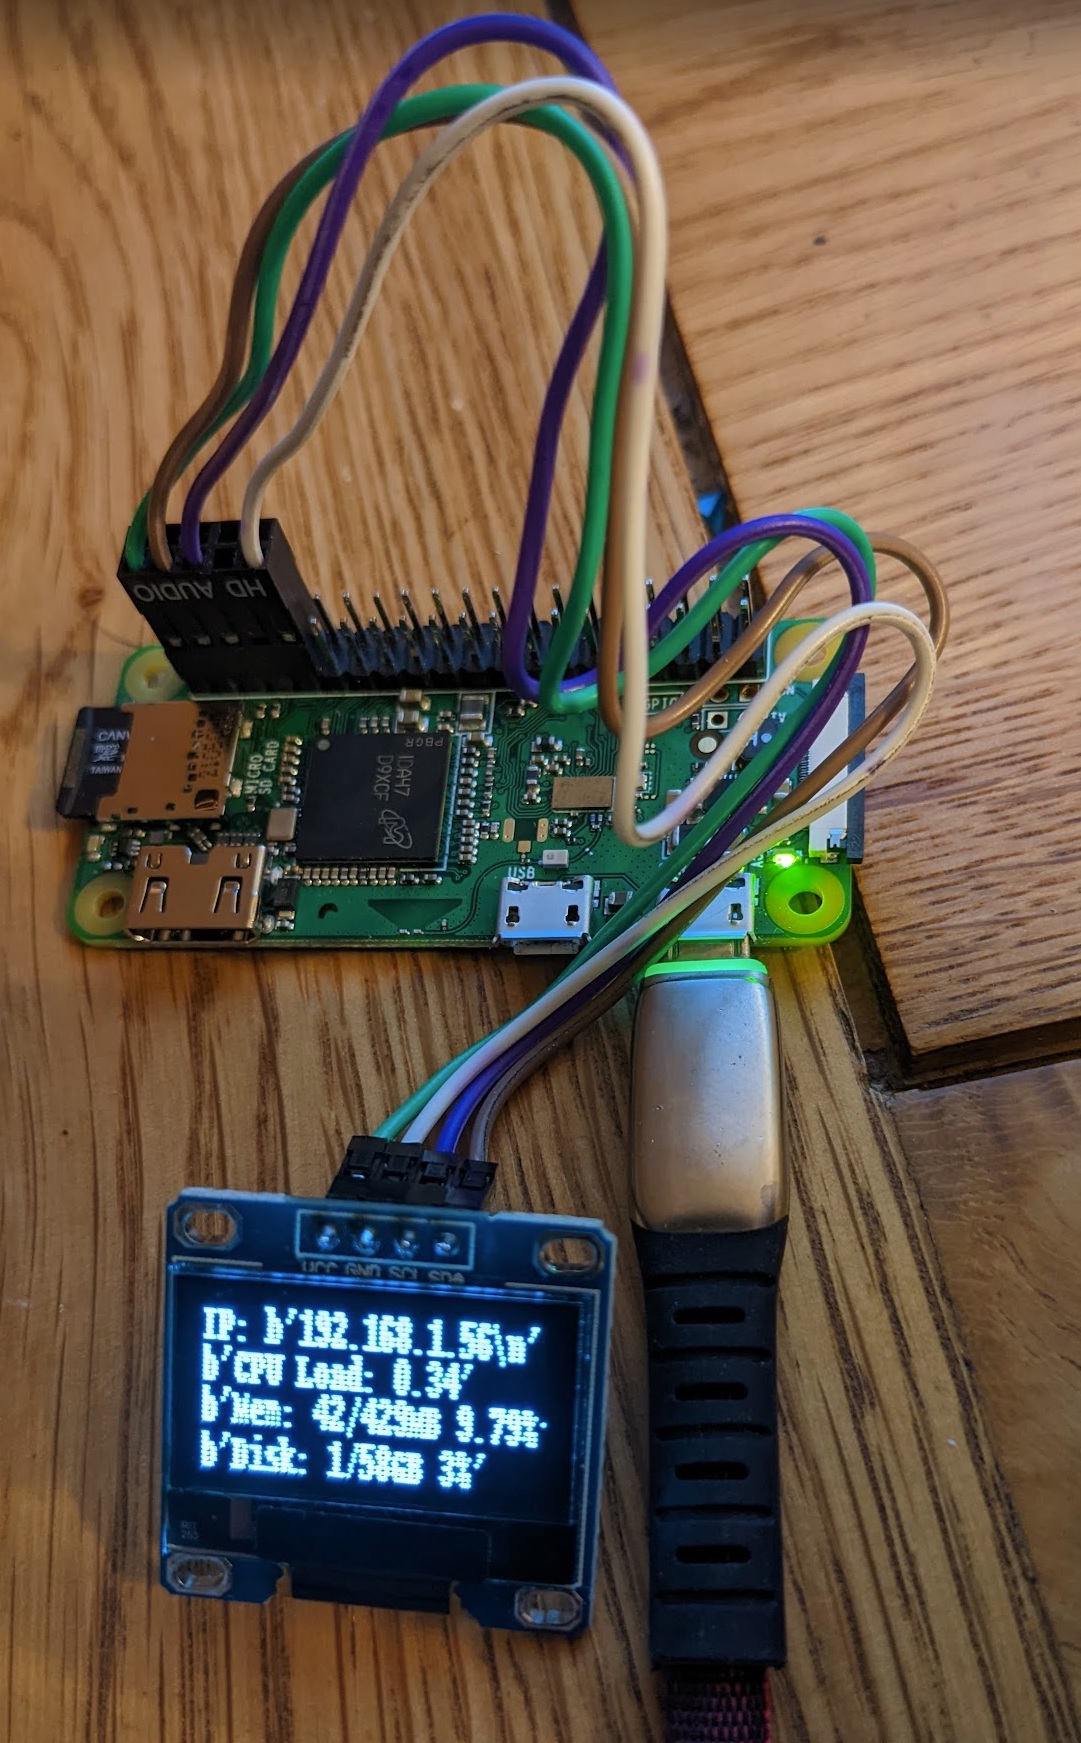
Command python3 stats should actually start displaying statistics.
Other examples:
- animate.py
- buttons.py
- image.py
- shapes.py
- stats.py
And what to do to get the display run after a hard restart? You need to add it to cron:
type crontab -e
and add line:
@reboot sleep 30 && python3 Adafruit_Python_SSD1306/examples/stats.py &
sleep 30 is here to delay the process, if you cron tries to run it straight away, it will end up with nothing. PS. Apparently 5 seconds is long enough – I was too lazy to check it 🙂