
For over a year my favourite part of photography are spherical panoramas. When we talk about panoramas we must not forget that there are different kinds of panoramas.
Nowadays, even in mobile phone applications allow you to stitch several images together. Some people do panoramas without the zenith and neither nadir. Just the middle section of panoramas. Other people stitch a few pictures together to effectively achieve a much wider angle of view for pictures, but it is too hard to call these pics as panoramas. I take full spherical panoramas 360 ° x 180 °. Please believe me this it is quite a challenging part of photography!
In this post I publish a step-by-step information about the hardware and software needed to create a nice and perfect panoramas.
How these panoramic pictures look like?
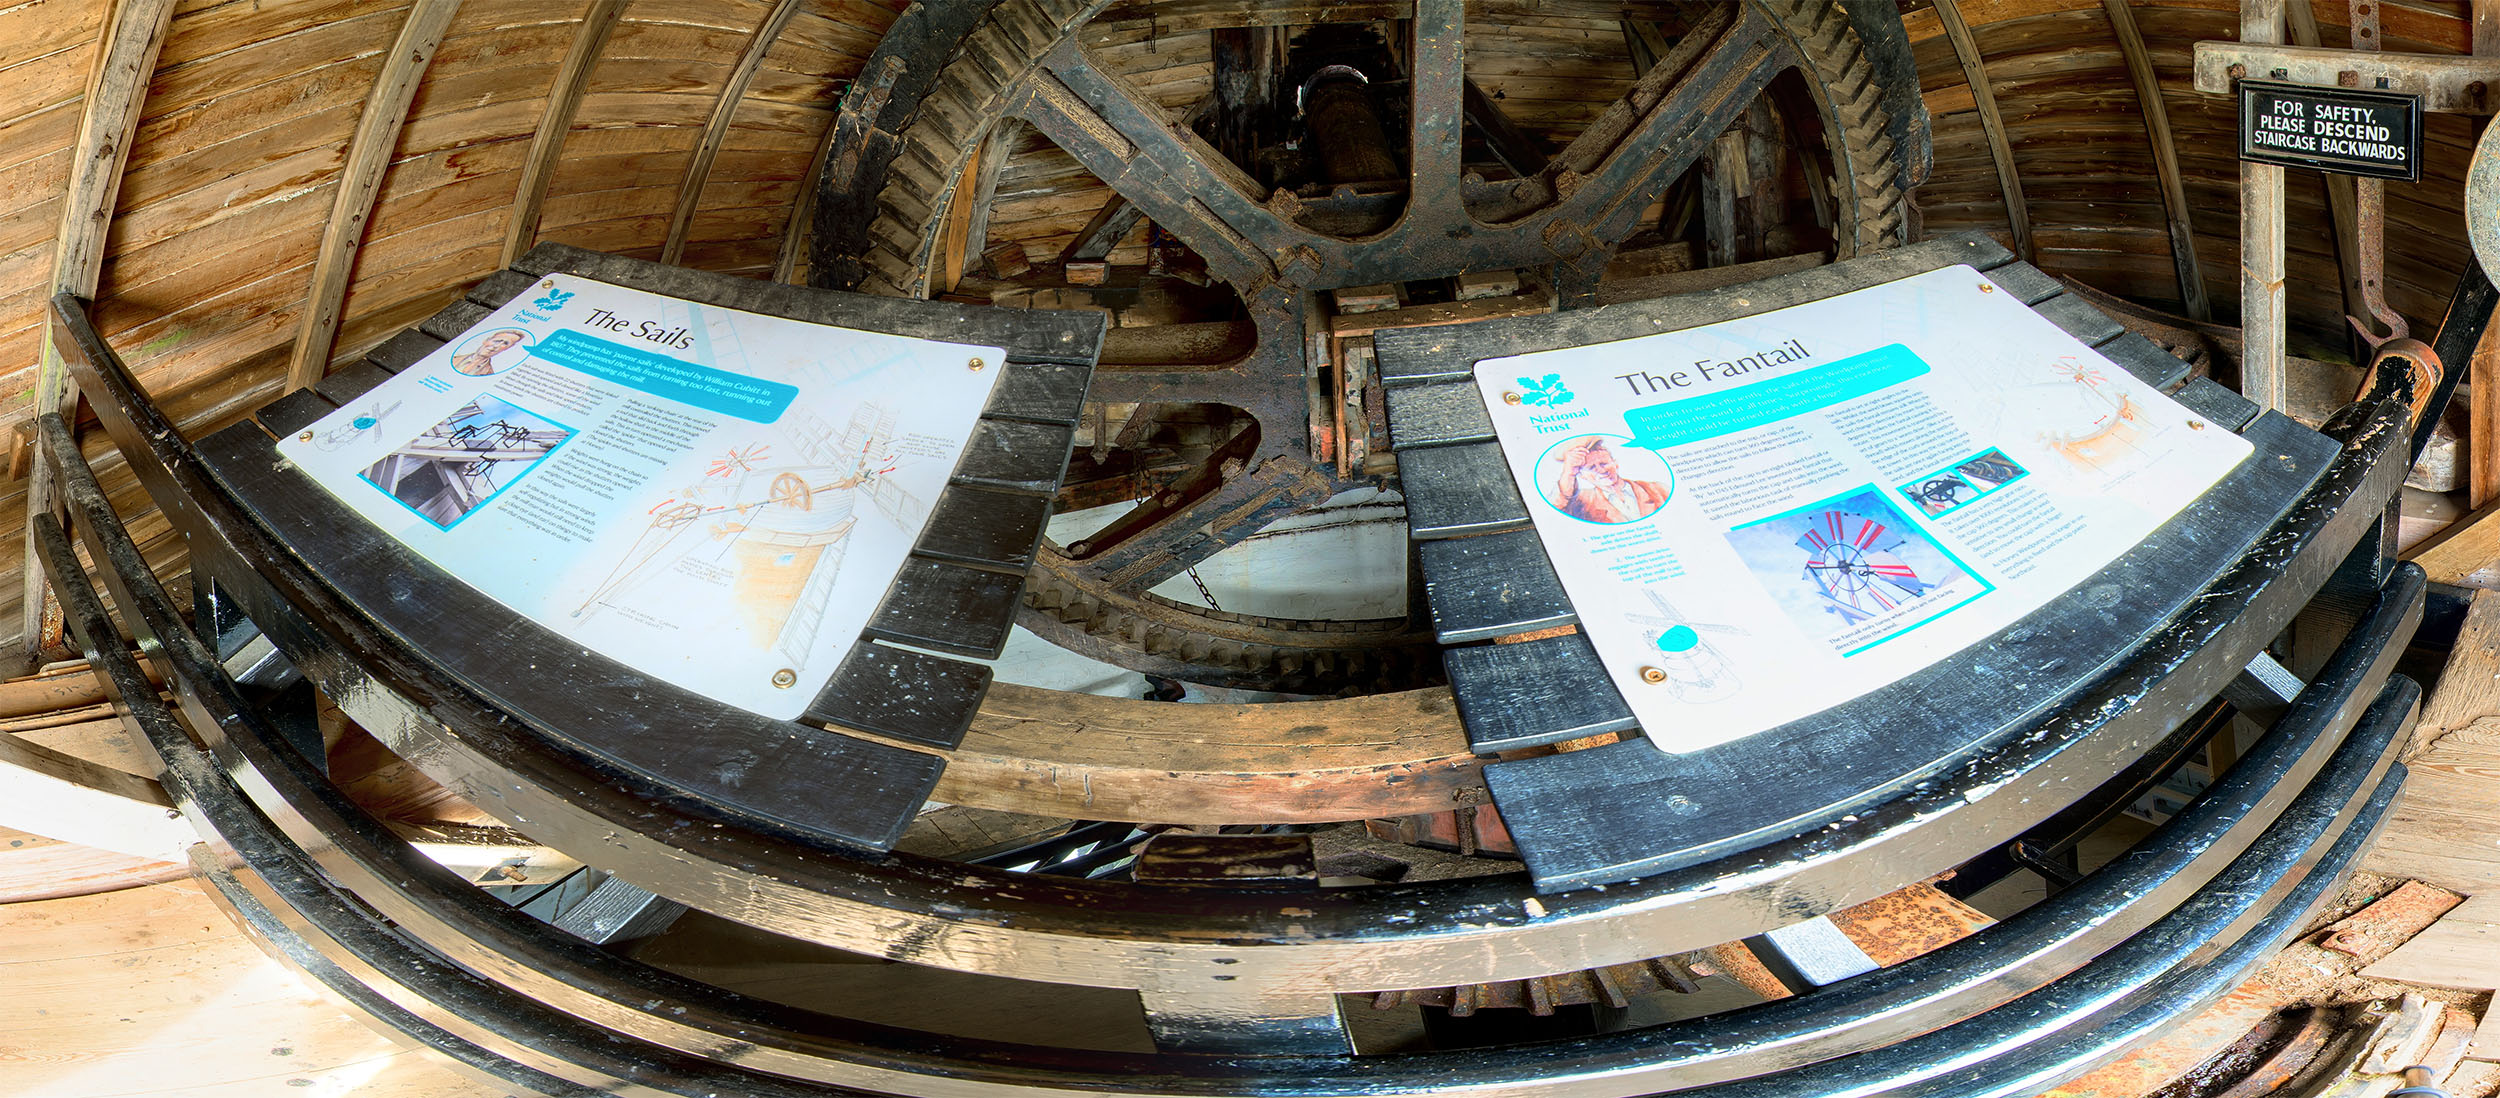
Well, just the flattened image looks like the one below, and is thus not very attractive:
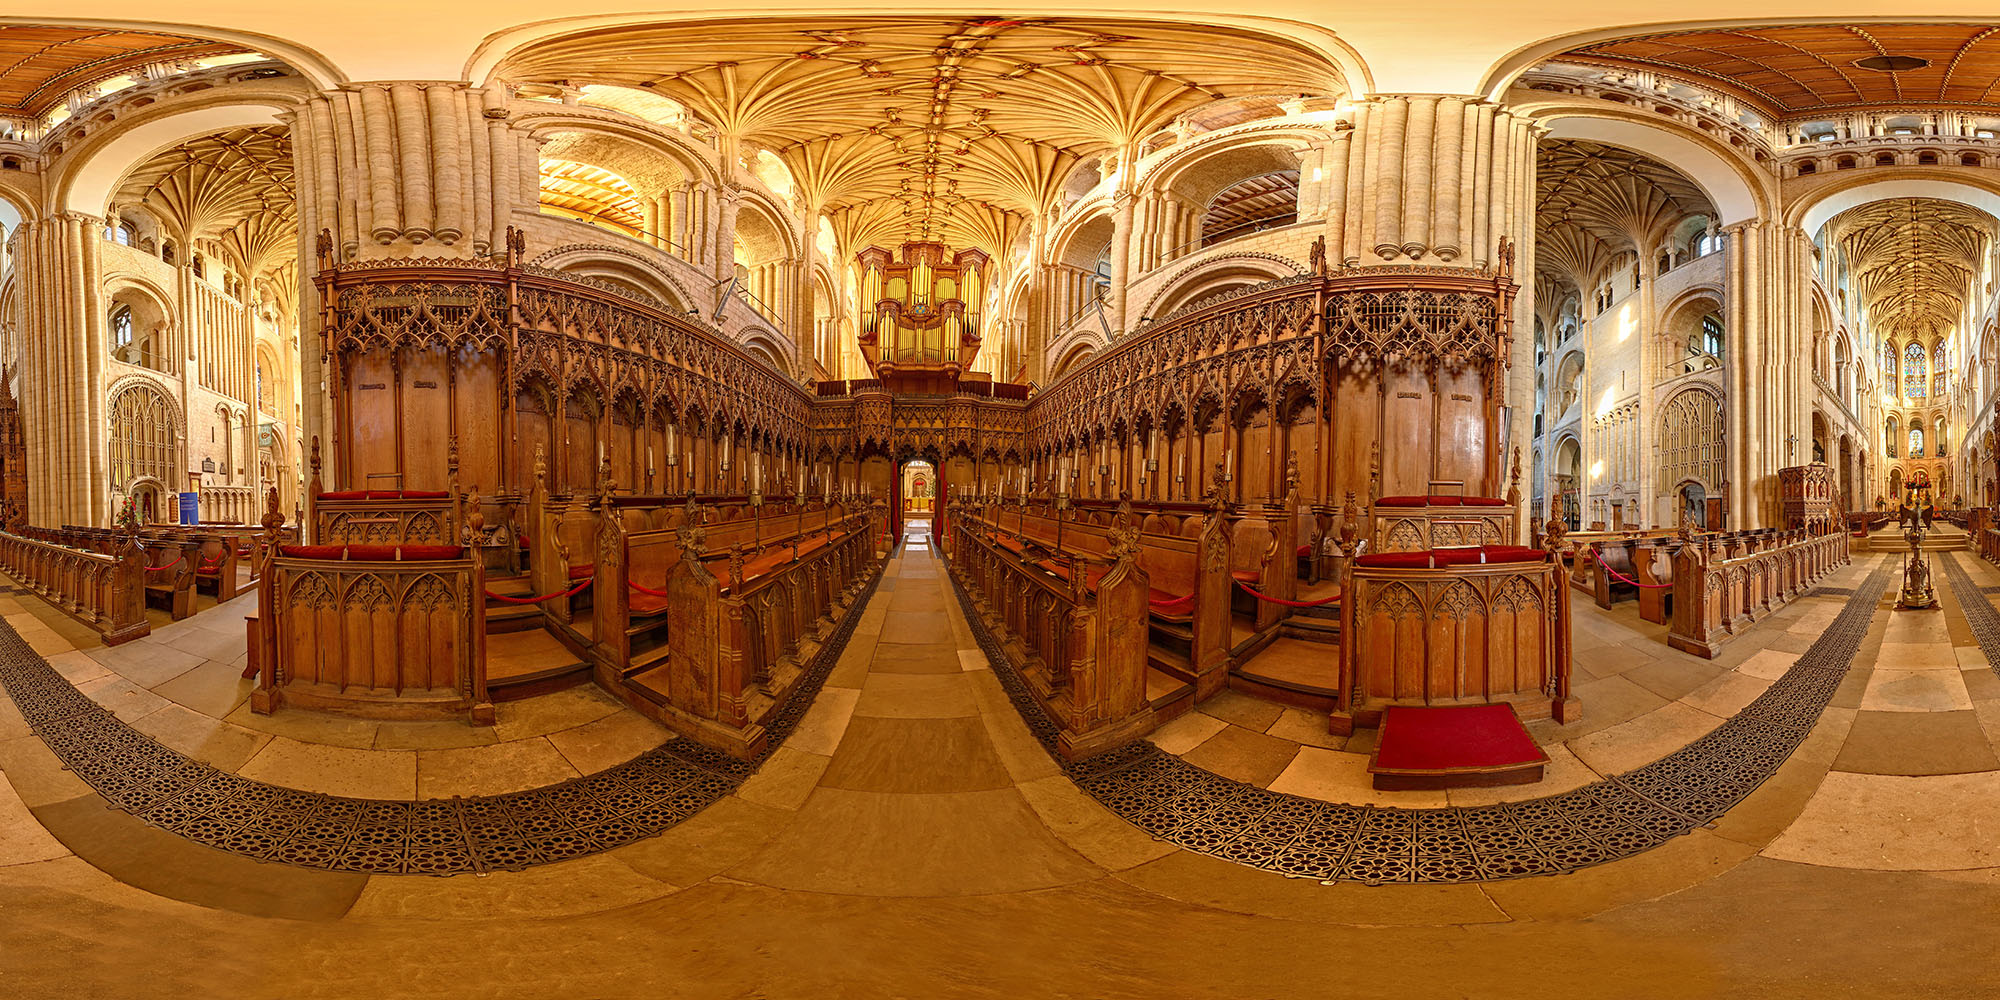 NIKON D600 (0mm, f/0, 1/inf sec, ISO0)
However, with the right software, you can upload panoramas to a website. One of my favorite panorama can be viewed HERE. Please note, my panoramas are made from huge files and to get them ready for displaying you will need to wait approximately 10 up to 60 seconds, depends on your broadband speed.
A page with ALL my panoramas is HERE.
If for some reason you’re interested in how I make my panoramas, you are more than welcome to keep reading.
This article is divided into a few parts:
- hardware;
- taking panoramic pictures;
- software;
- what to do with finished panoramas 🙂
Hardware: panoramic bracket
Of couse your camera, lens and photography knowledge will affect the quality of your final panoramas. However, even the best equipment won’t let you do fine panoramas without having a proper tripod with a special camera bracket. It is obvious that it is NOT possible to make a panorama photo with just a single frame . Even the widest fisheye lenses offer “only” 180 ° view in one plane. Moreover, fisheye lenses hugely distort pictures. Practically panoramas are made by rotating the camera around its axis. And here is a very important issue . First of all, the camera should be rotated on an axis going through the lens nodal point. By simple putting the camera on a tripod , the axis of rotation falls far behind the lens nodal point , causing a parallax error . Moreover, the longer physically lens , the bigger parallax error!
Parallax error causes problems with stitching them, like on the image below:
 D7000 (14mm, f/7.1, 2.5 sec, ISO100)
More details about the origins of the issue you can find HERE.
Nodal point is usually located near the front of the lens and the camera should be rotated around that point. Panorama makers use special, unfortunately expensive L brackets, like shown on the picture below:
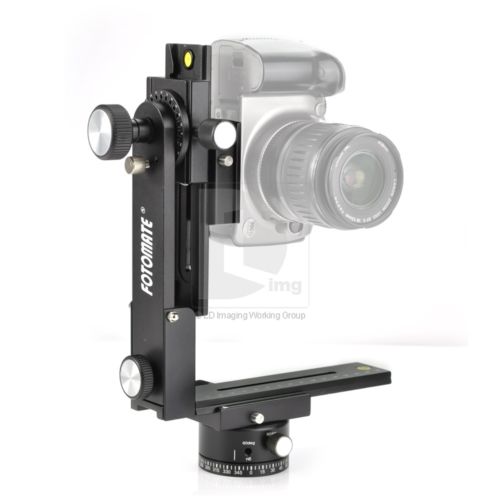
The bracket from the picture above costs about £80.
Top models, very expensive and much, much better quality cost more than £400 – se picture below:
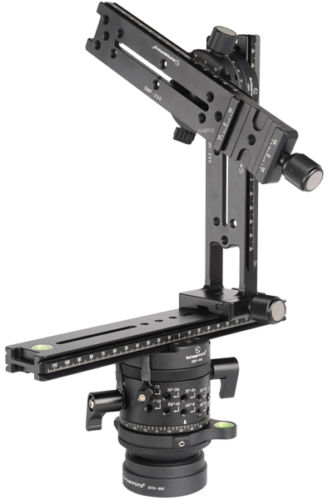
These brackets are adjustable to the position of the rotation axis of the camera tripod.
I personally decided to make the bracket myself. I did this for several reasons. Firstly, I use a very heavy camera with a grip, very fast and heavy wide angle lens and holder Spider Pro. It weighs a lot! Another issue is ridiculous prices of better quality brackets. Also I was wondering if brackets are adjustable enough for my camera with all these extras 🙂 In the end I preferred to manufacture the bracket myself, which is designated only for my camera. Moreover, the bracket without all these adjustable elements should be much more stiffer which is quite important, when I take a picture in the windy times. Because almost always I make my panoramas as HDRs, it means that each frame is made by taking three differently exposed images . I had to change originally 4mm thick aluminum bracket, because it was too thin and caused the camera to shakes in the wind , which caused problems with my HDR frames or with long exposure pictures. Fortunately the problem was fixed with a new 10 mm thick ( ! ) aluminium L bracket.
To conclude this paragraph, I have no idea how good are original handles. Neither the better nor the cheaper. I ordered a water jet cutting, it costed me £60 including material. One of my colleague only had to help me and he bent for me the L bracket plate.
So, my bracket looks now like this:
 NIKON D7000 (70mm, f/5.6, 1/4 sec, ISO200)
Hardware: tripod
In fact, the tripod for taking photograph panoramas is no different from the tripod for “normal” photography. So there is a usual rule – the more expensive the better : (
Unfortunately my tripod has a ball head and have even the slightest error in adjusting horizontal / vertical position causes errors during stitching process. In the near future I need to exchange the ball head on a special rotating the panorama head, as shown on the picture below. Unfortunately this is the costs about £100.

Hardware: Camera and lens
I take panorama pictures with a full frame Nikon D600 + Nikkor 14-24 2.8. Why I chose this set? Firstly, the Nikon D600 full-size matrix allows me to reduce the number of images needed to stitch each panorama frame together. As you know, each lens on full-frame camera has a wider angle of view . I set up my lens always to 14mm. As it is known, the software merging each panorama frames must be able to find on each picture some common elements to merge the pictures together. My current camera equipment allows me to have a compromise between numbers of frames and quality. Please do not ask me questions like I have a lens X, camera Y, how can I do panoramas? My answer is I DO NOT KNOW , you must try to find the best solution for your rig. For panoramas I always take three levels 12 frames each and it works perfectly for me. It gives me panoramas of size 15000 x 7500 pixels.
How to take panorama pictures.
In fact a lot about taking pictures I have already written in the paragraph above. I perform three runs of 12 photos. Each photo (if I do it in HDR) needs three different exposures.
I usually take panorama pictures with manual ssettings, including manual ISO! I lock exposure to avoid a situation where borders between frames will be visible due to their different exposure, although , in theory, the software I use is able to prevent such situations. At the very beginning of the adventure with my panoramas I used to block also the auto focus. But pretty soon I found that it is not very effective especially indoor, where walls etc. are situated in an unequal distances. Even setting up the aperture at f8 did not give a sharp images. After that experiences I lock the AF only when he can not catch a focus on uniform surfaces like sky or a white walls.
When my camera is ready for taking panoramic pictures, I take 12 HDRs with the lens pointing towards the ground , then 12 HDRs with lens directed horizontally , and then 12 HDRs directed at the sky (-30, 0 and +30 degree).
Once, when I was shooting at dawn, I did in opposite. Because completing panorama set takes about 5 .. 10 minutes , I decided to expose the sky fist. Because I did not want to change the exposure, picture of the much darker land I took after next few minutes, when the ground was a little bit brighter. As a result, I was able to maintain a more uniform exposure of each picture.
One of the problems that occur when take panoramic shots is the point opposite to the zenith – nadir . As you know, the camera does see the image underneath the tripod. Tripod and bracket simply obscure the image.
Solution for nadir (and sometimes zenith) problem has been resolved HERE.
Software
To make a perfect panorama, after shooting, I postprocess my pictures in Adobe Lightroom.
Later, to get my HDRs, I use amazing Machinery HDR software. Then, each HDR must be stitch in a one big panorama. To do it I use free Hugin. Sometimes Hugin makes errors so I switch into Kolor Autopano software. Sometimes the situation reverses, and what does not go in Autopano, does make no problem in Hugin.
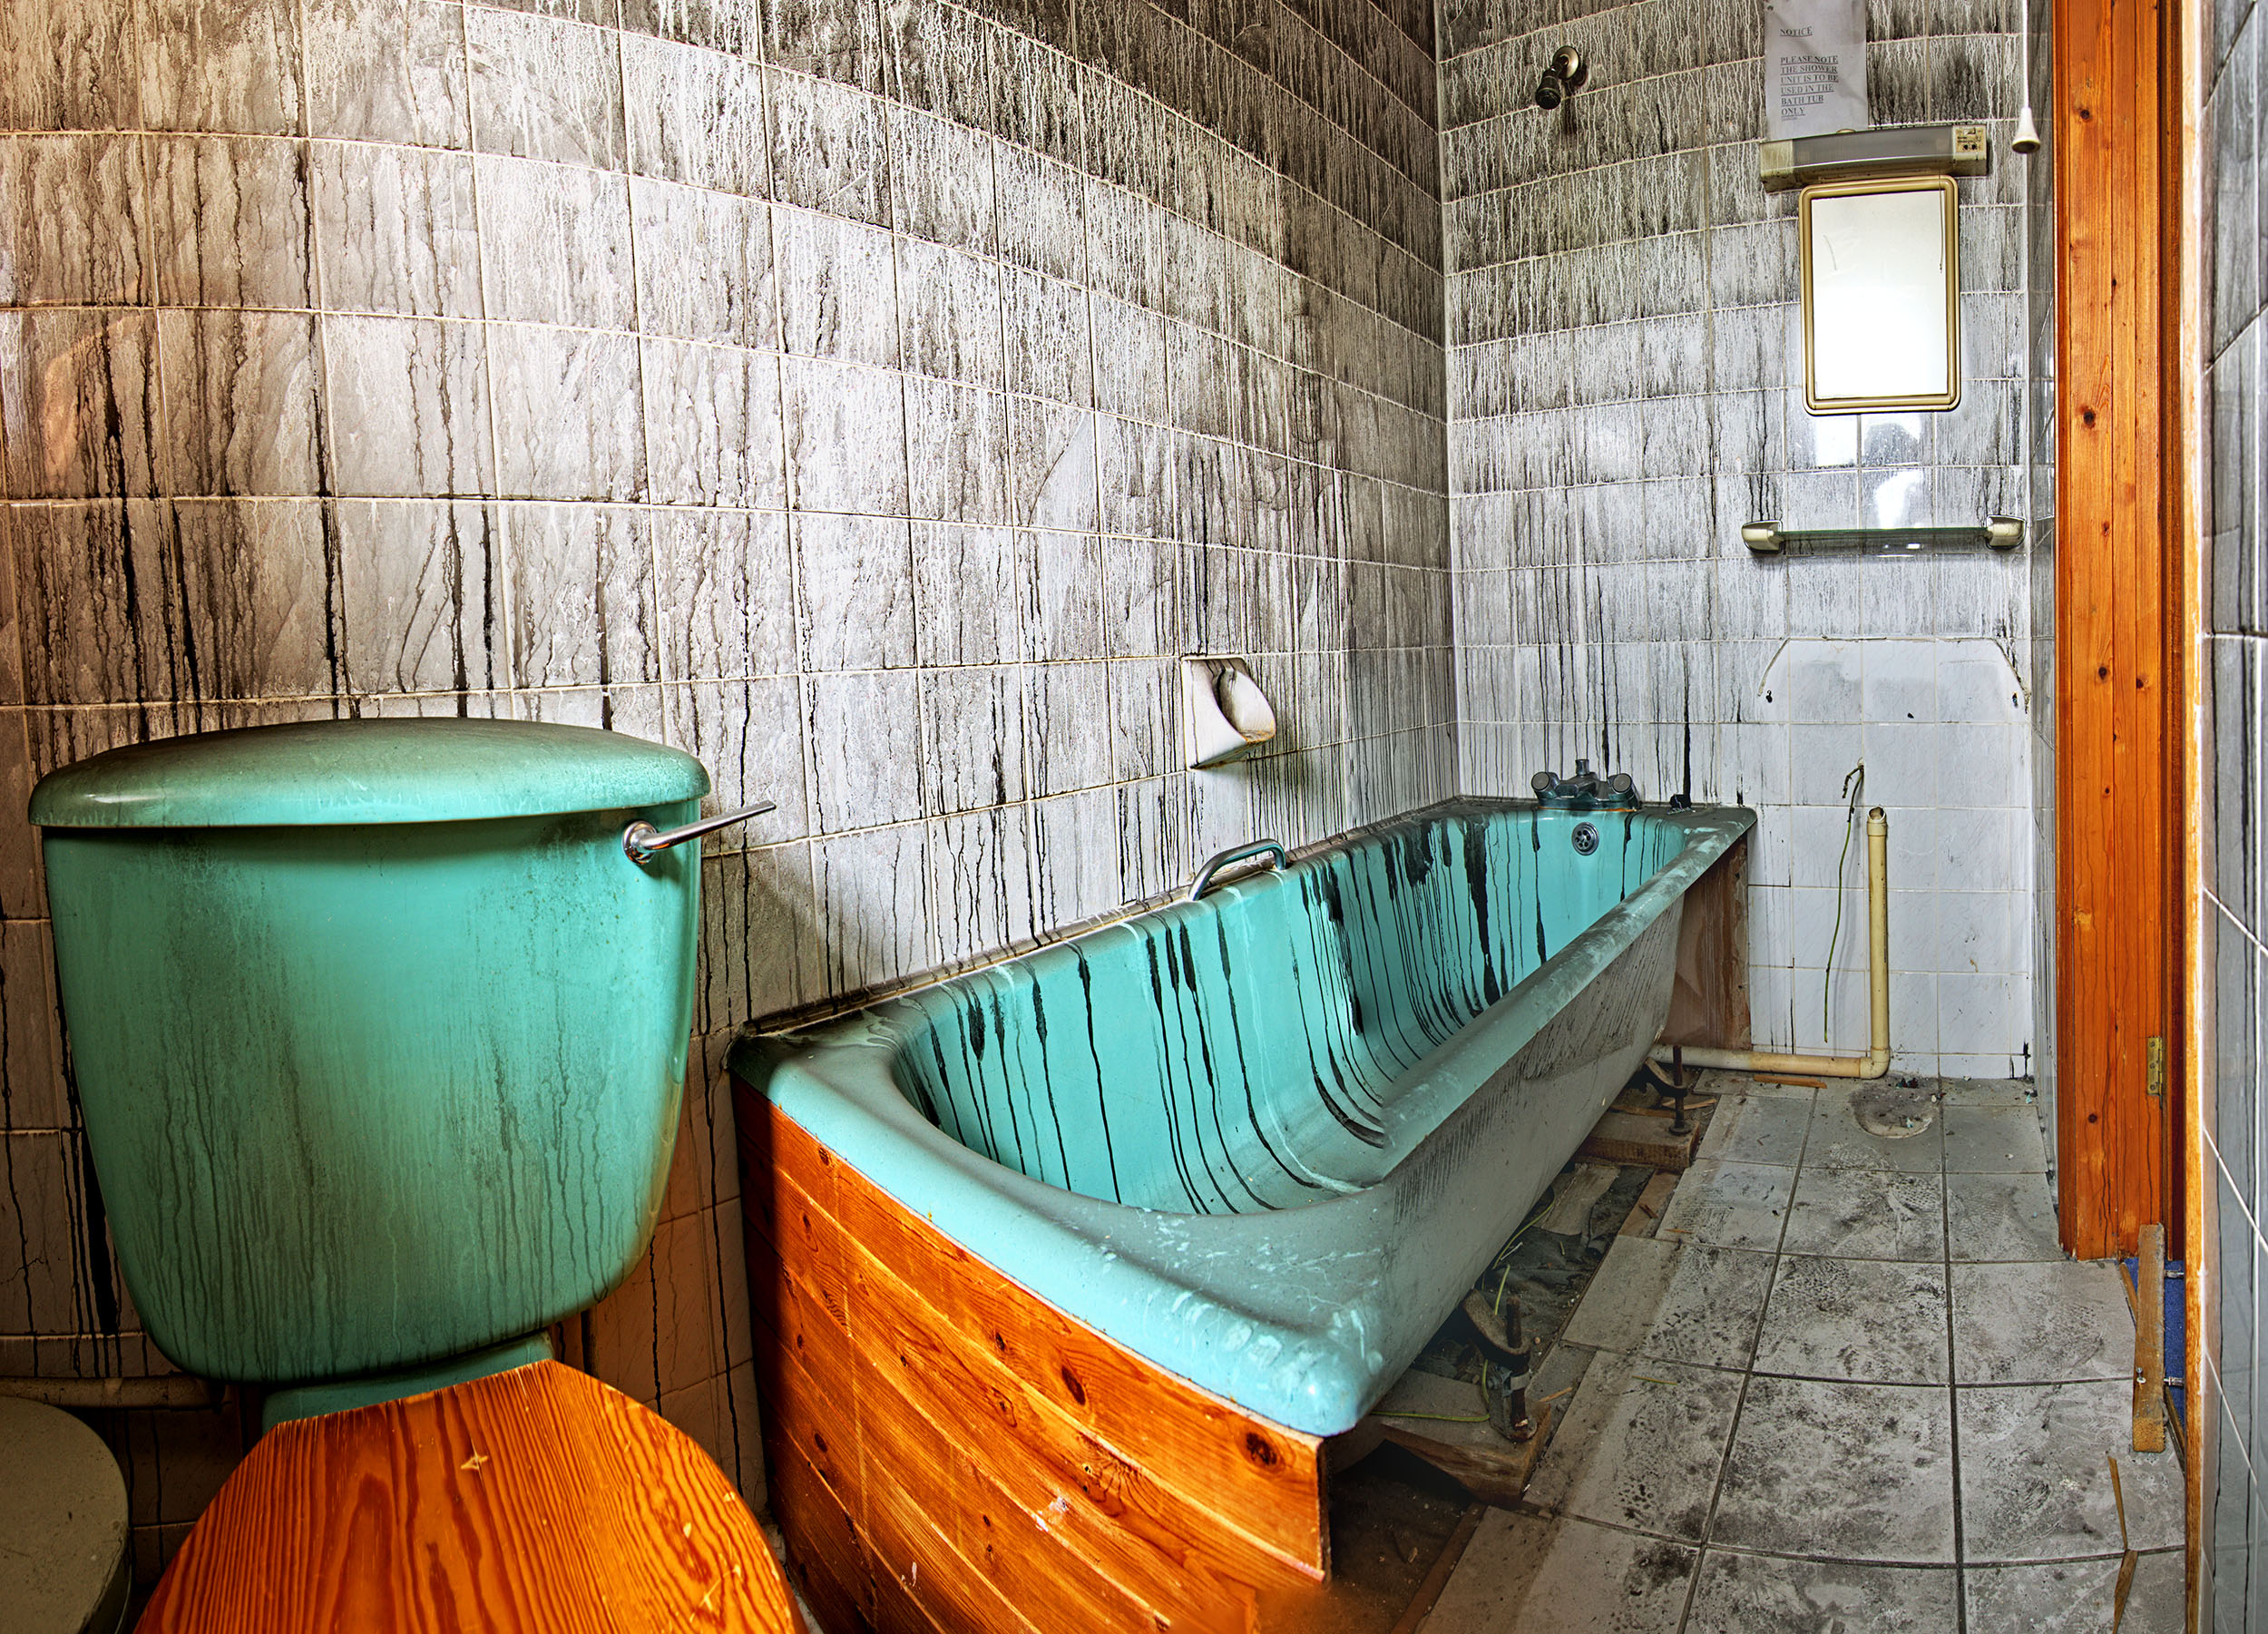
Edit: Hugin 2014, comparing to Hugin 2013, was hugely improved stitching. What was a problem in 2013 version, it is not a problem in 2014 – see pictures below:
2013:

2014:
After stitching process my panorama looks like on the picture below:
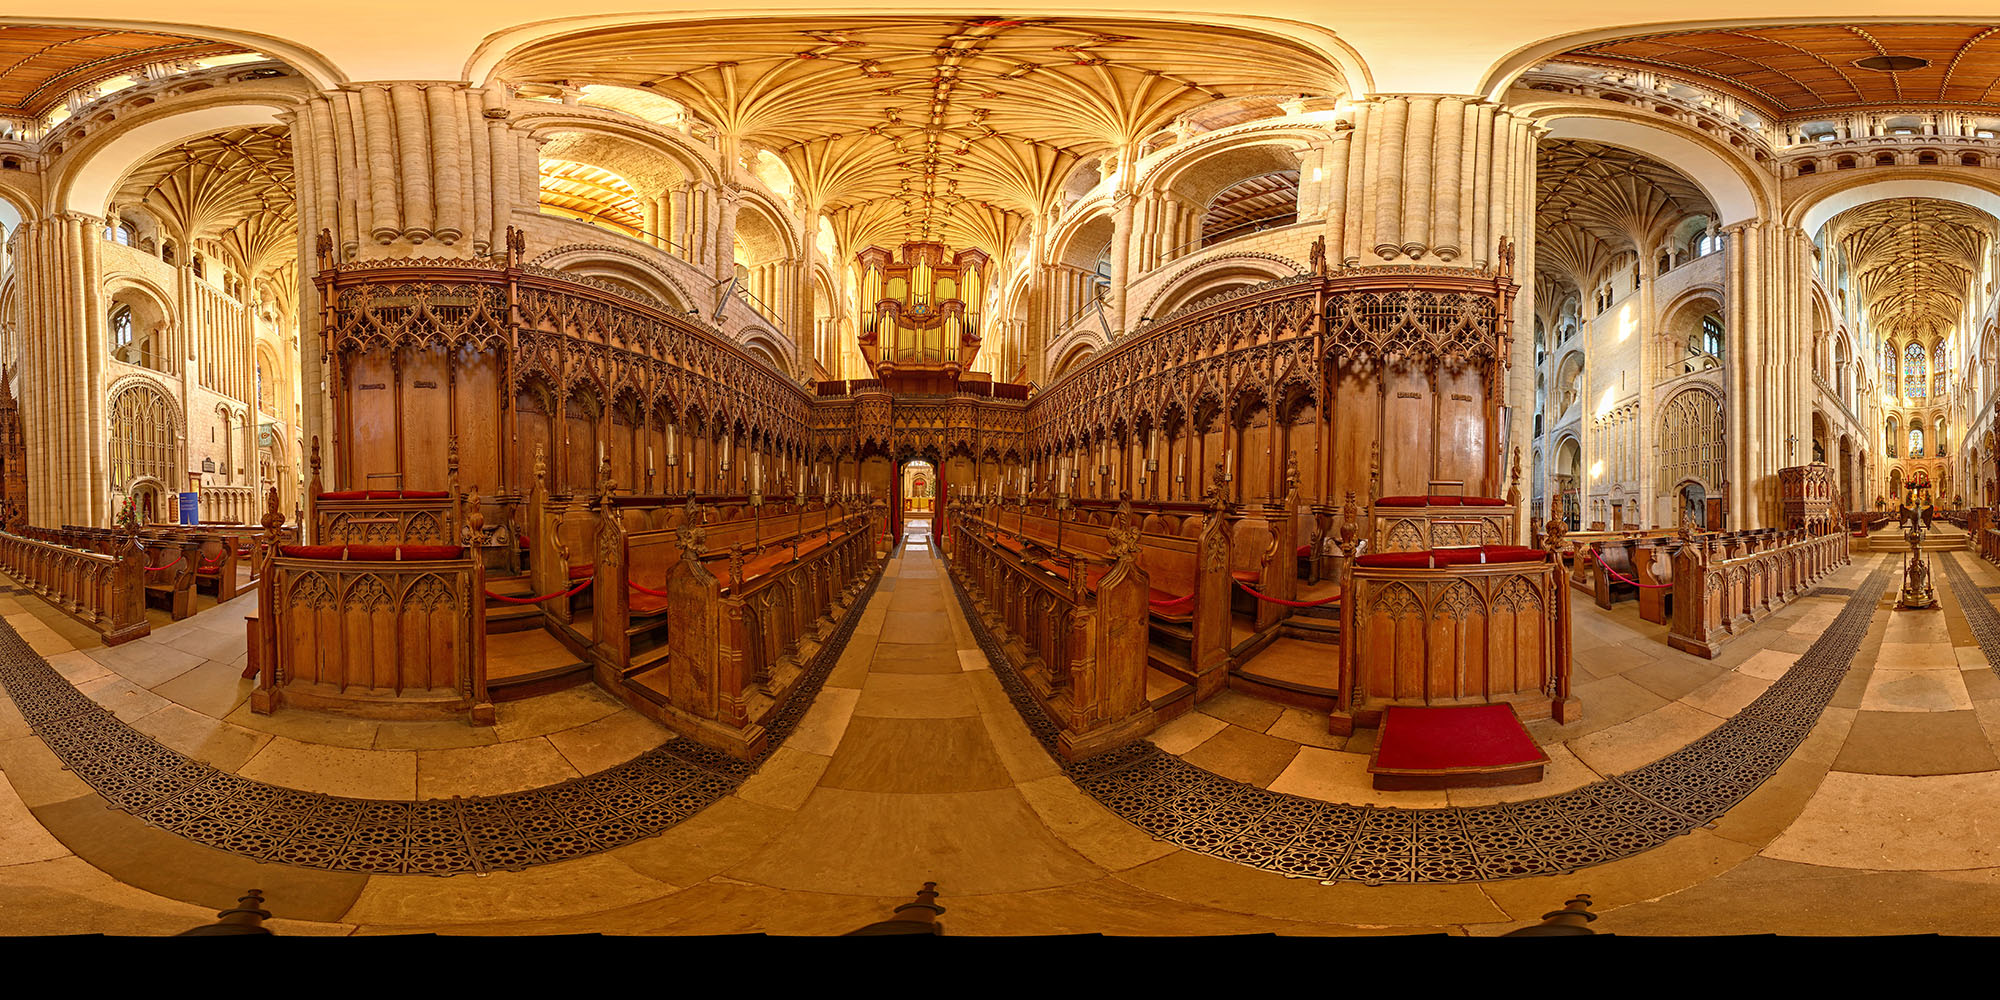 NIKON D600 (0mm, f/0, 1/inf sec, ISO0)
As you can see , the bottom of the panorama has an ugly black strip, formed nadir problem. A separate article resolving the nadir problem is HERE. So, another software that I use is Adobe Photoshop and Gimp (see a link in the previous sentence).
Once the zenith and nadir problem is resolved, in Photoshop I improve colors, do retouching, etc.
Publishing panoramas on websites
Now, this image must somehow be displayed on my website. Unfortunately it is not an easy task, although it is not a huge problem.
To generate the HTML code I use Pano2VR. Another quite popular software is Krpano.
Pano2VR generates HTML5 code. With bigger pictures for desktops and with smaller images for mobile phones. The software also generates flash swf files. I am not going to make any Pano2VR tutorials, because you can find many of them already on Youtube.
Because for my website I use WordPress system I decided to install a Panopress plugin, which allows me to upload huge files to the server with FTPand then to display my panorama I just need to paste a code like the one below:
[ Panofile = ” panoramas/2014/2014.03.15/panorama-01/panorama.xml “]
What to do next with panoramas???
It’s difficult to say that in 2014, the panoramas are something special. But certainly not everyone, even quite advanced photographer will be able to do decent panoramas. I spent a few months to find out how to do it properly.
I publish my panoramas on my website, on some forums and also on https://www.360cities.net/profile/rozenek website. I am quite sure that 360 Cities was bought by Google and once panorama is accepted by 360 Cities team, the panorama will appear in google earth 🙂
I hope that this article was interesting and helpful for people interested in panoramas.
Useful links:
Hugin discussion list: https://groups.google.com/forum/#!forum/hugin-ptx
360 Cities: https://groups.google.com/forum/#!forum/360cities
One day I need to find out how to make a cubic panorama, a bit information I found here: http://www.cartola.org/cartola/index.php?title=Immersive_360x180%C2%B0_panoramic_photography_in_BSD